Imagery Best Practices
Images:
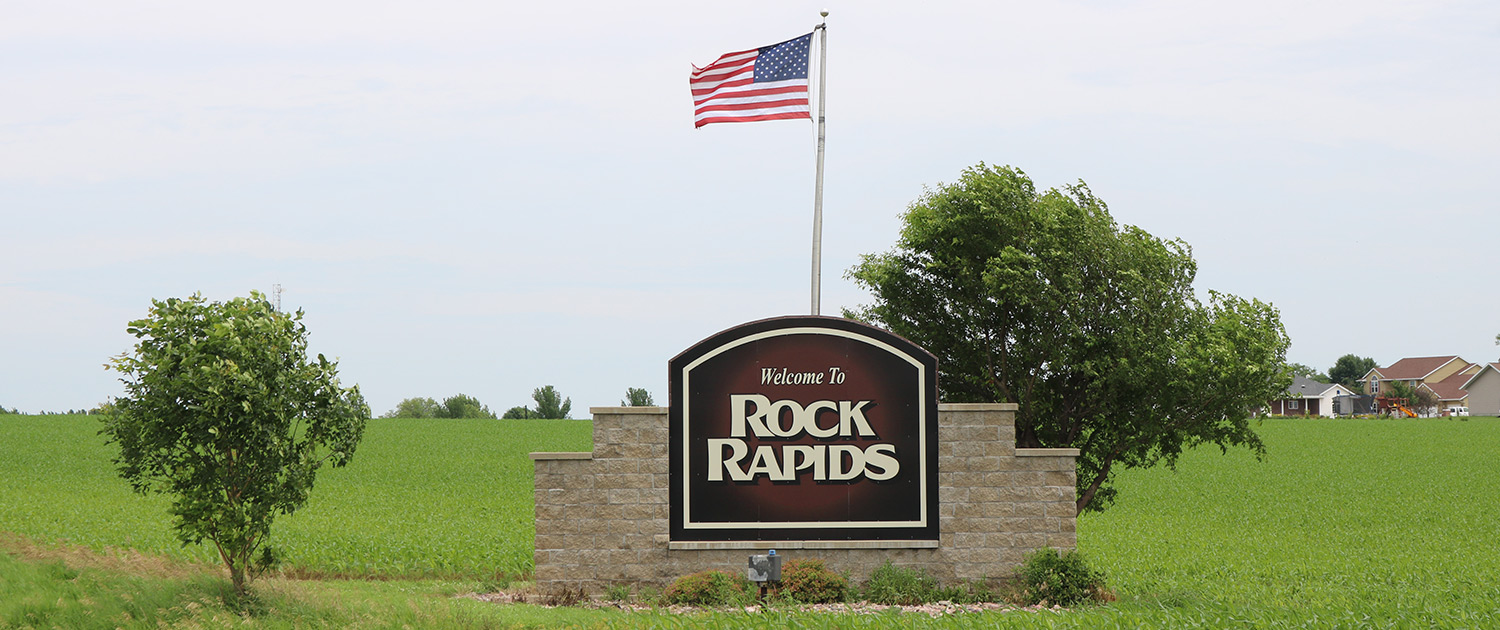
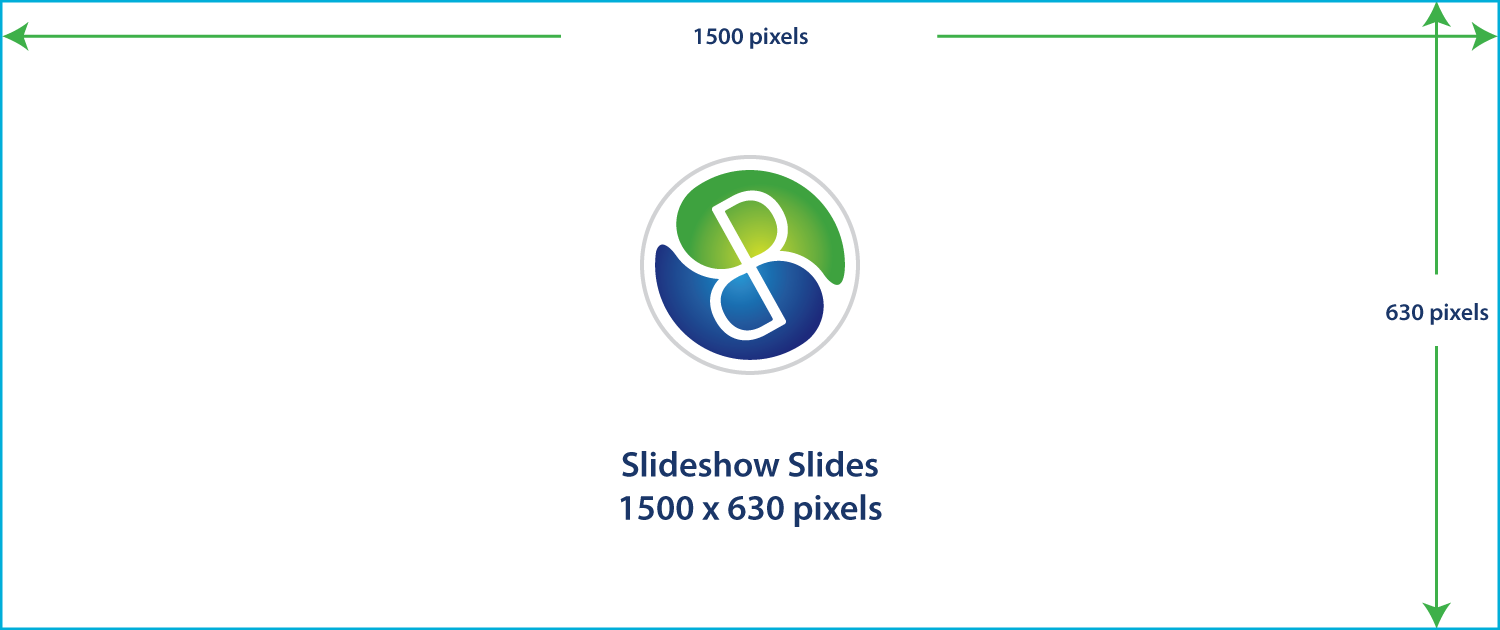
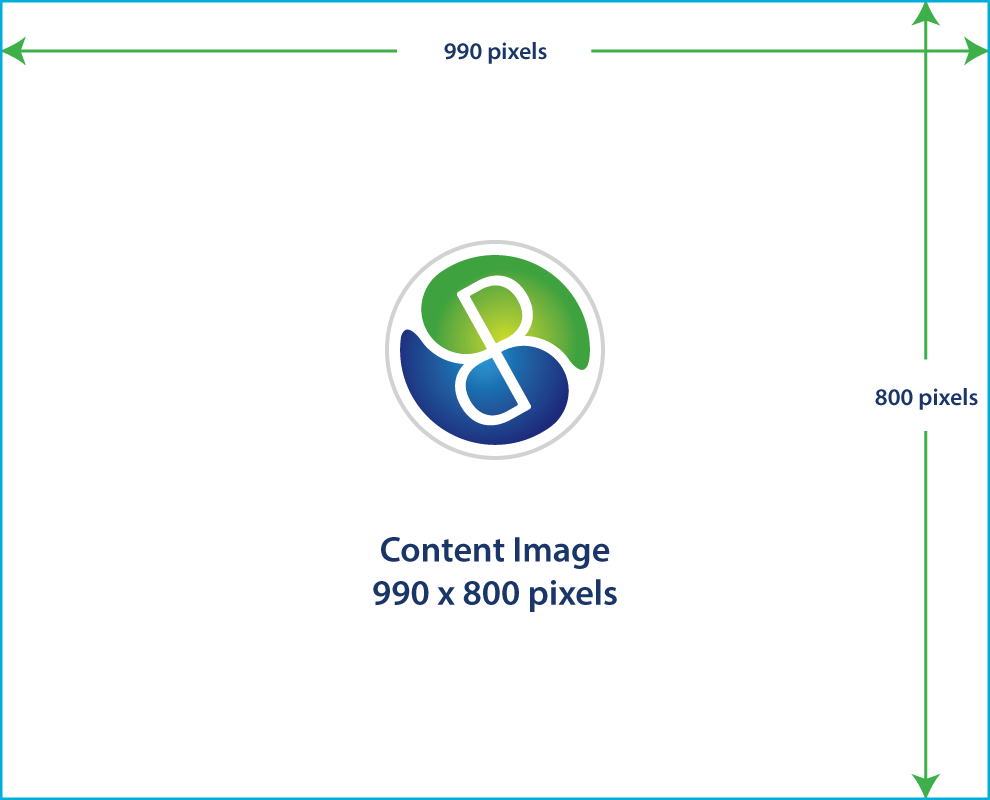
There are two primary sizes of images on the Rock Rapids website.
- Content Image (Primary)
These images are represented both as the thumbnail on the Home Page, but also represent the bulk of the images found within content. - Slideshow Slides
These images are for more permanent content and should be used sparingly, as they are larger images and take more time to load for viewers and more storage on the website.
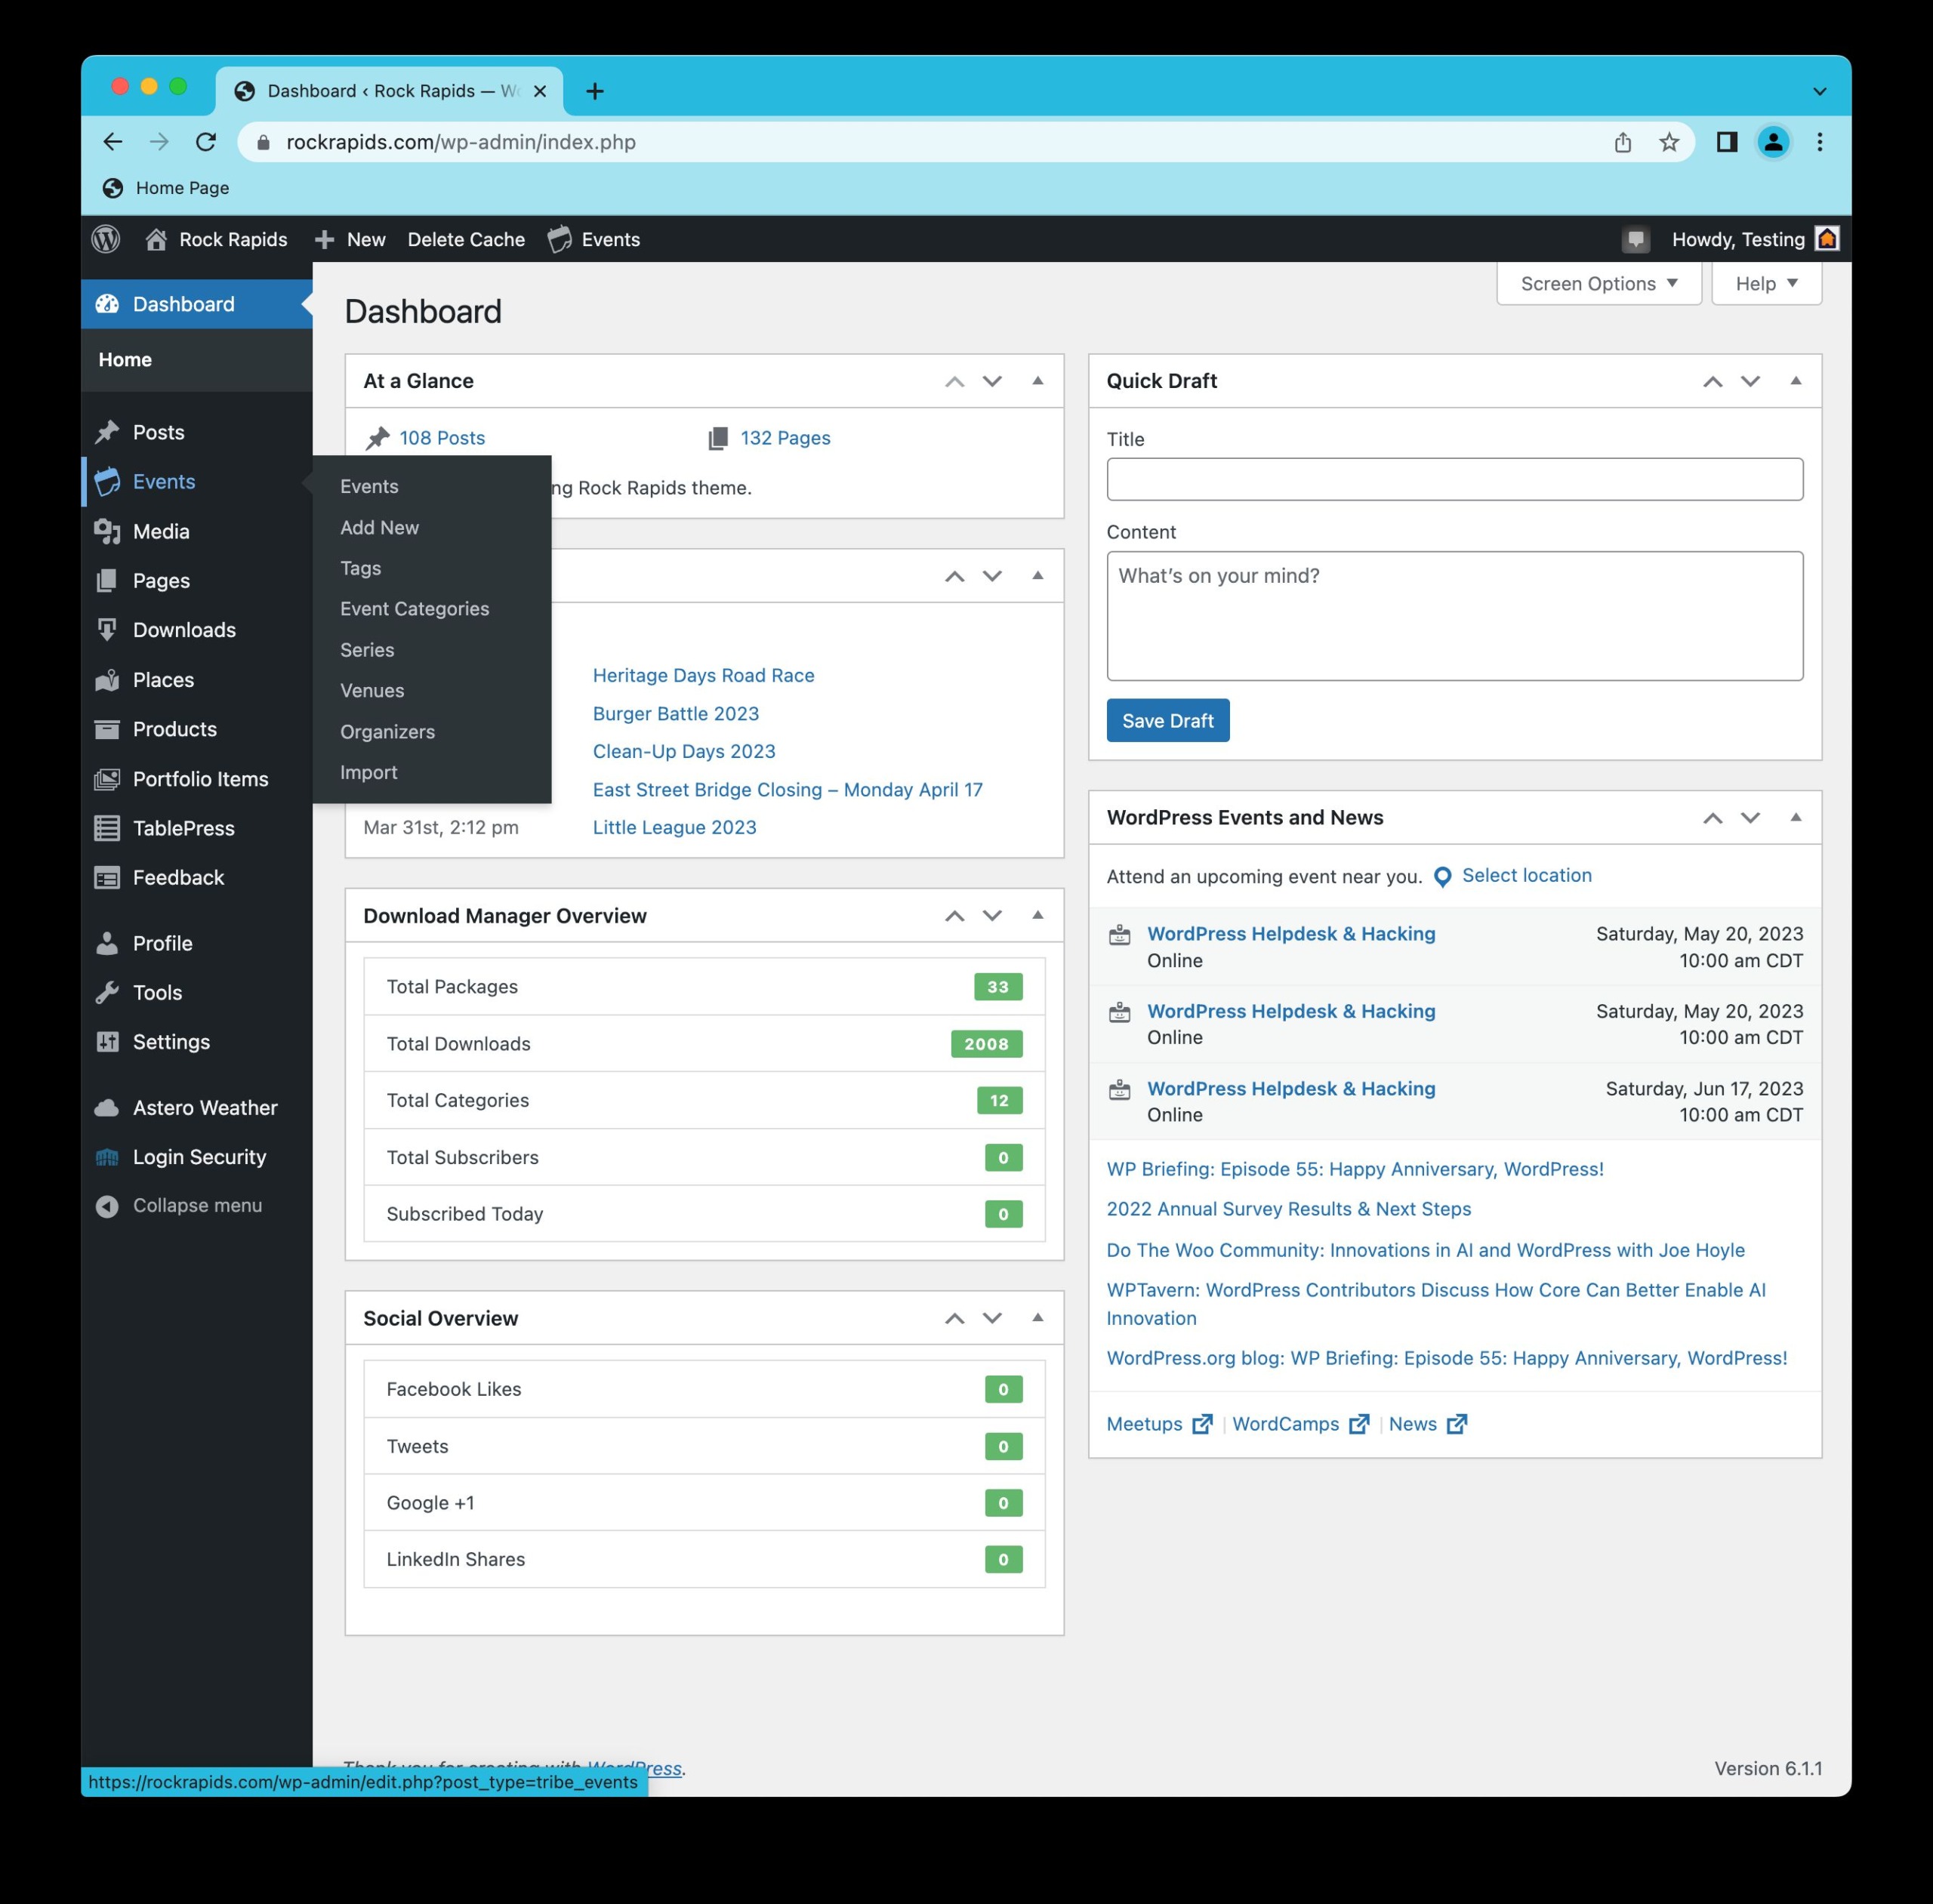
The Dashboard
Where the Tools Reside
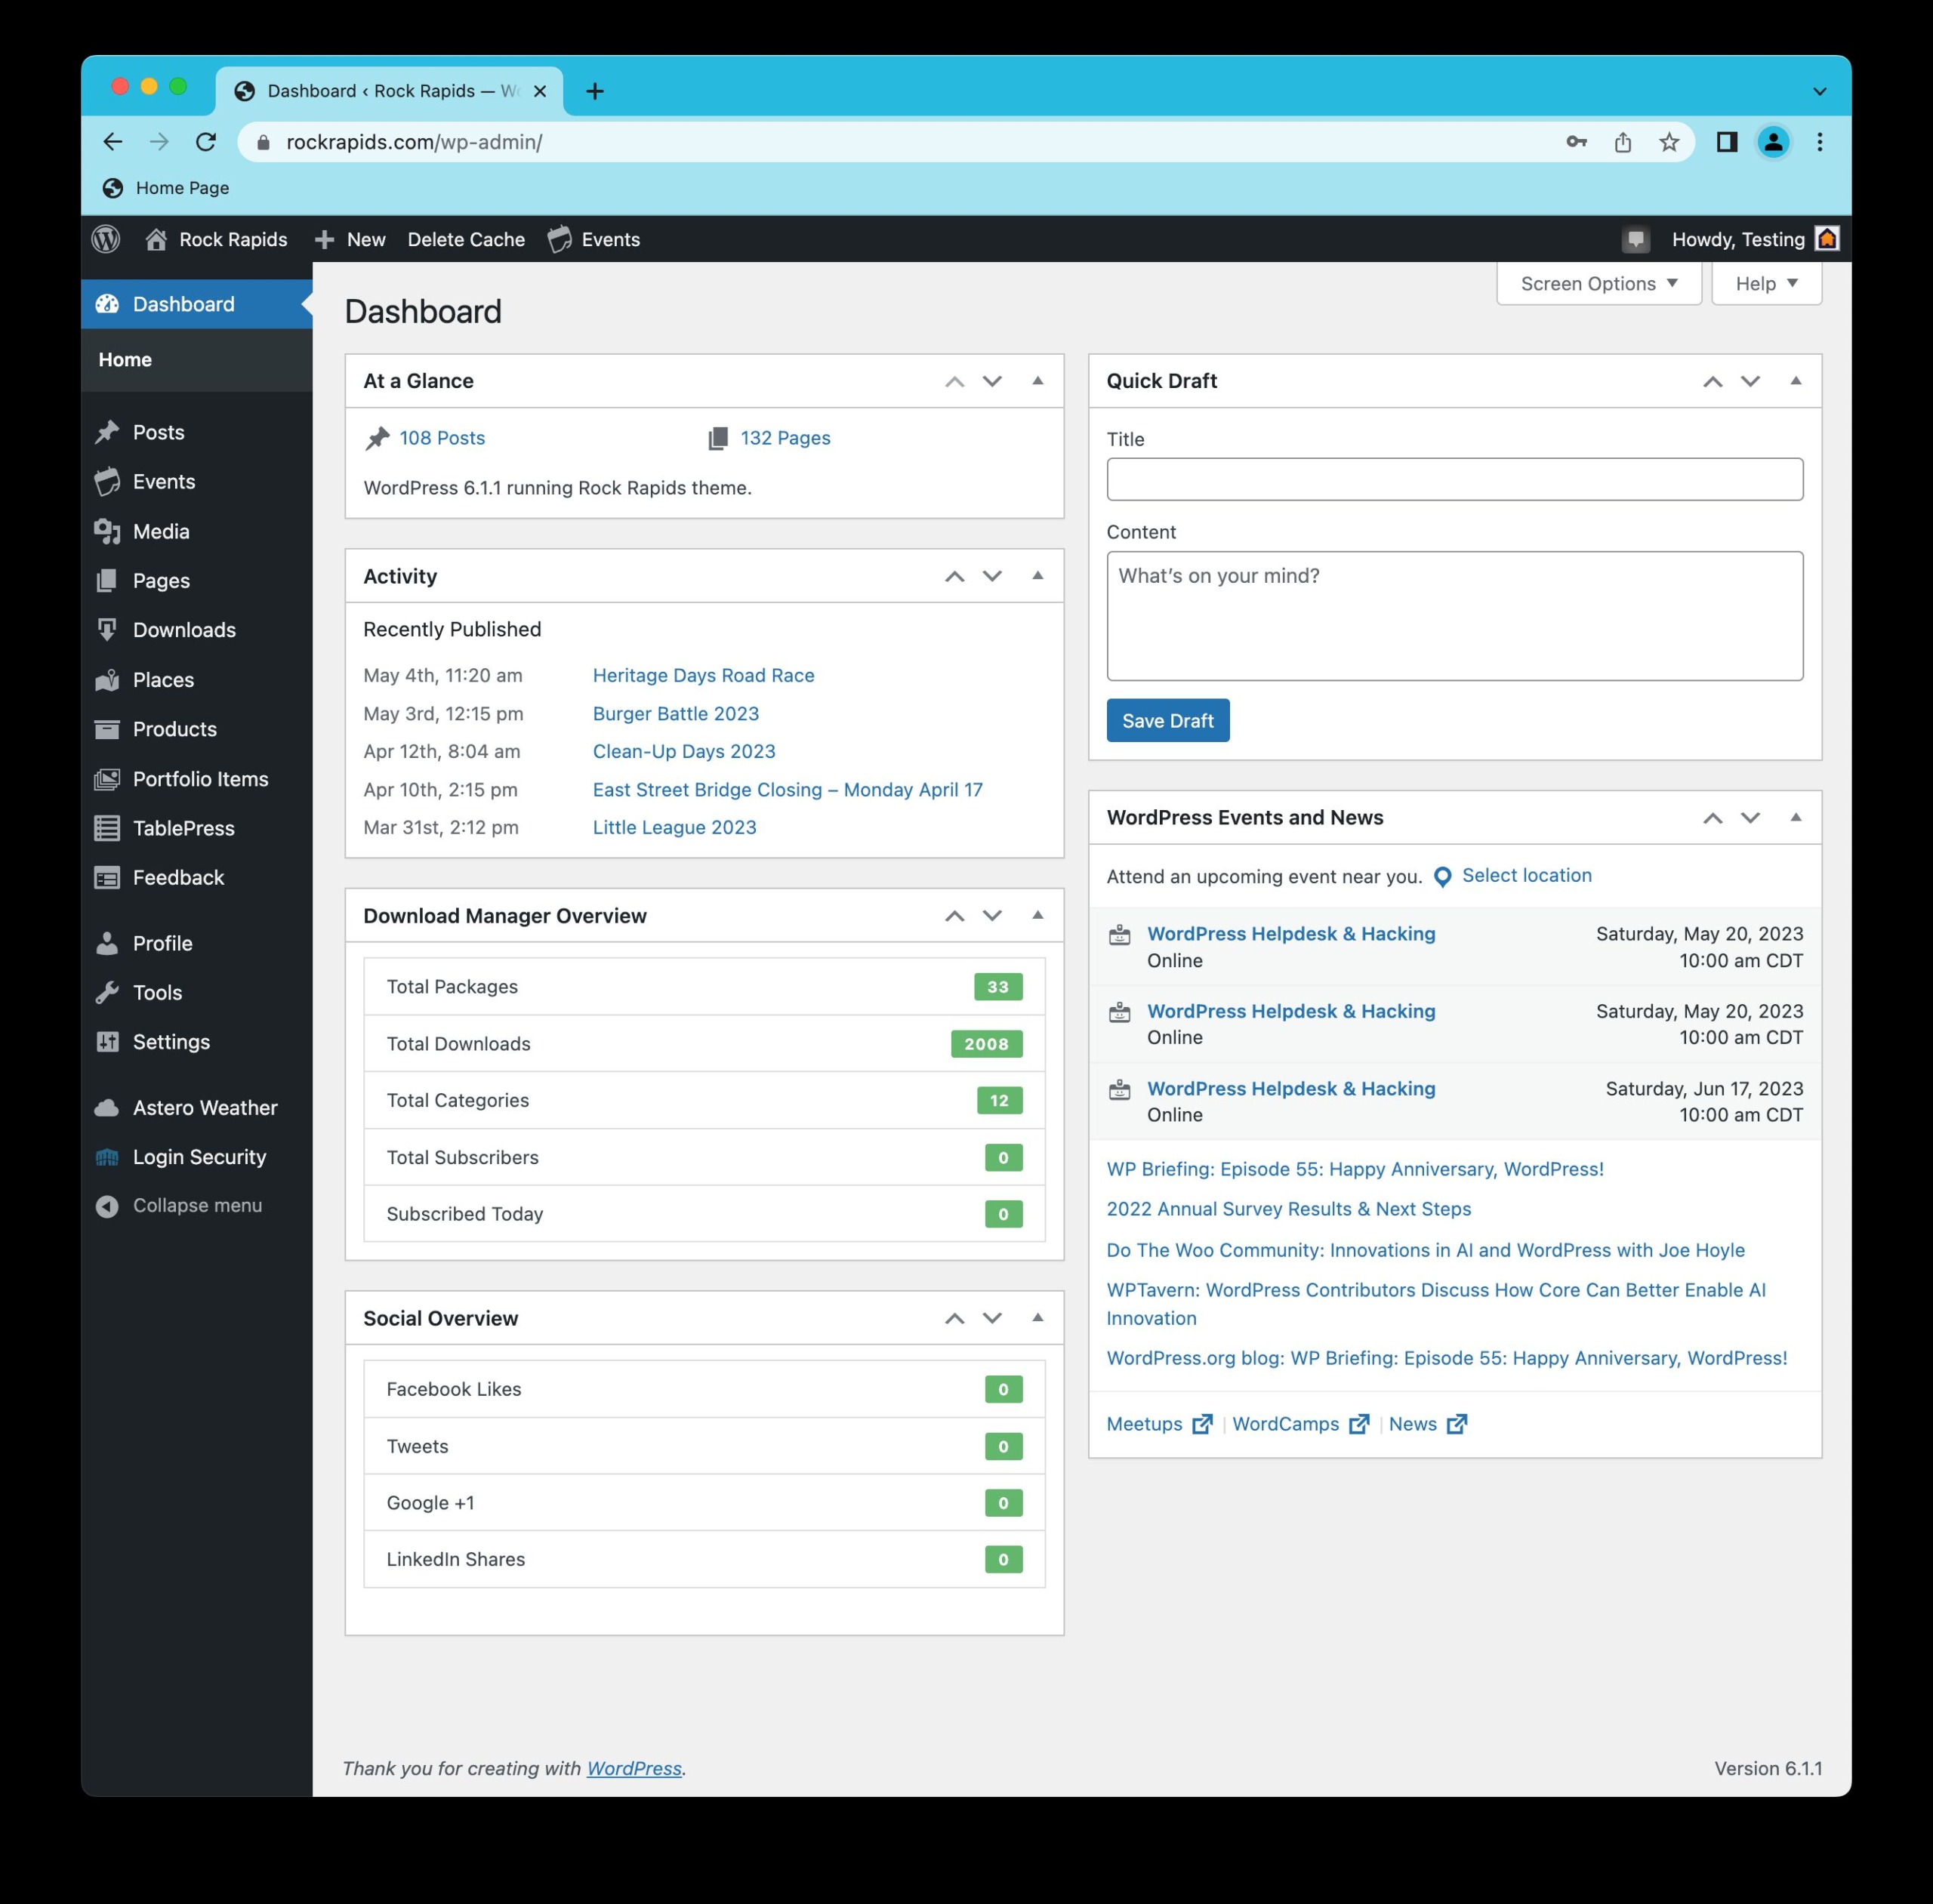
Main Menu
Main Toolbar
Dashboard
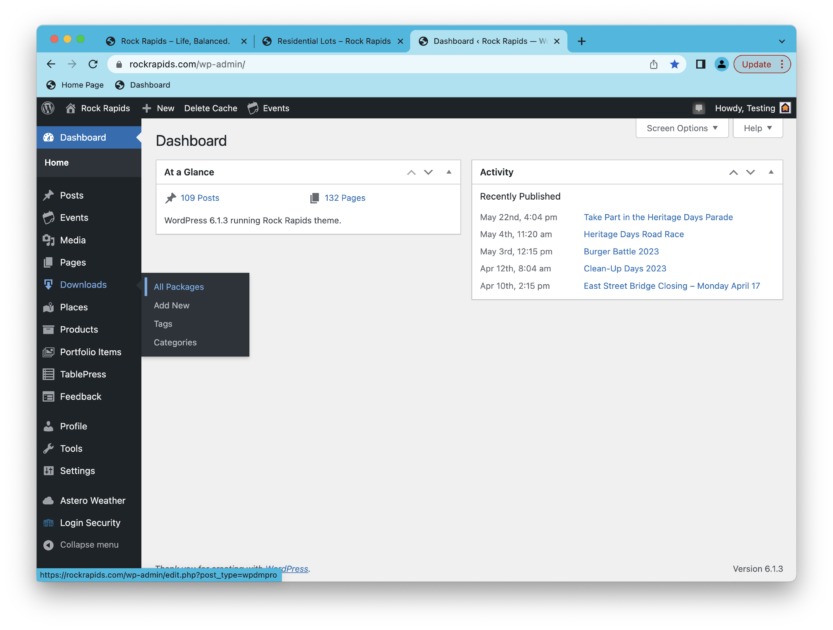
This main area gives some basic statistics and updates related to the website.
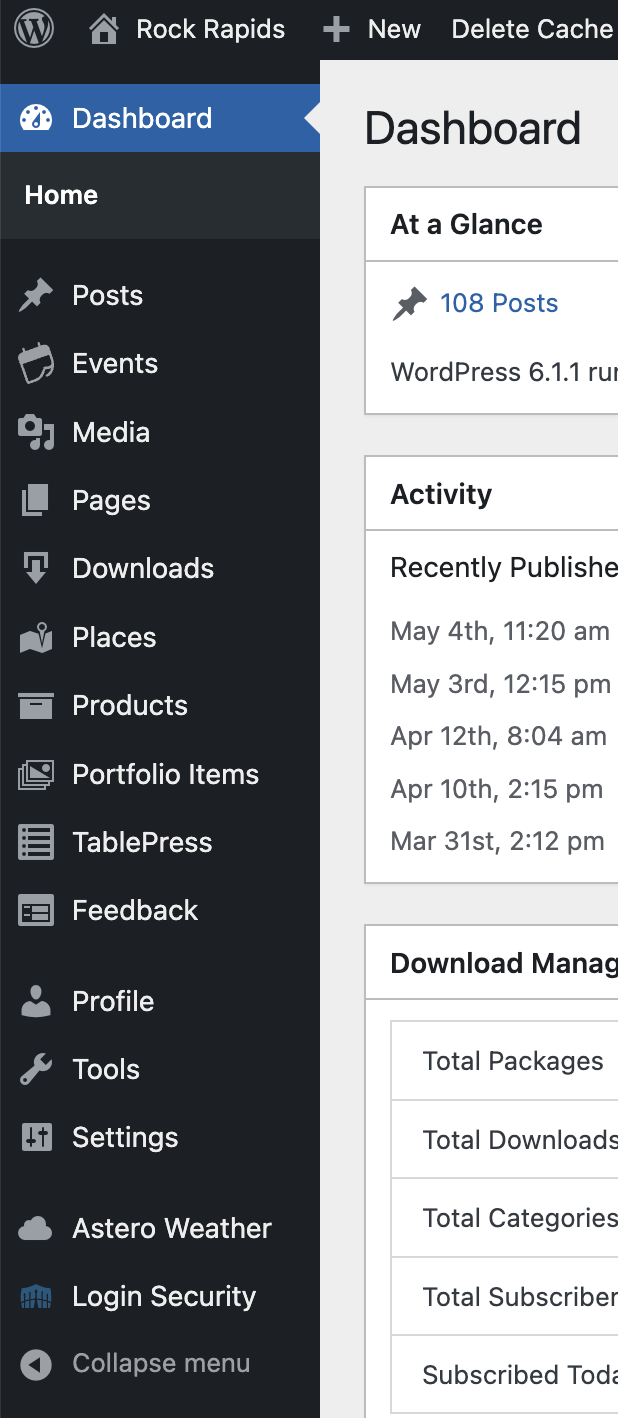
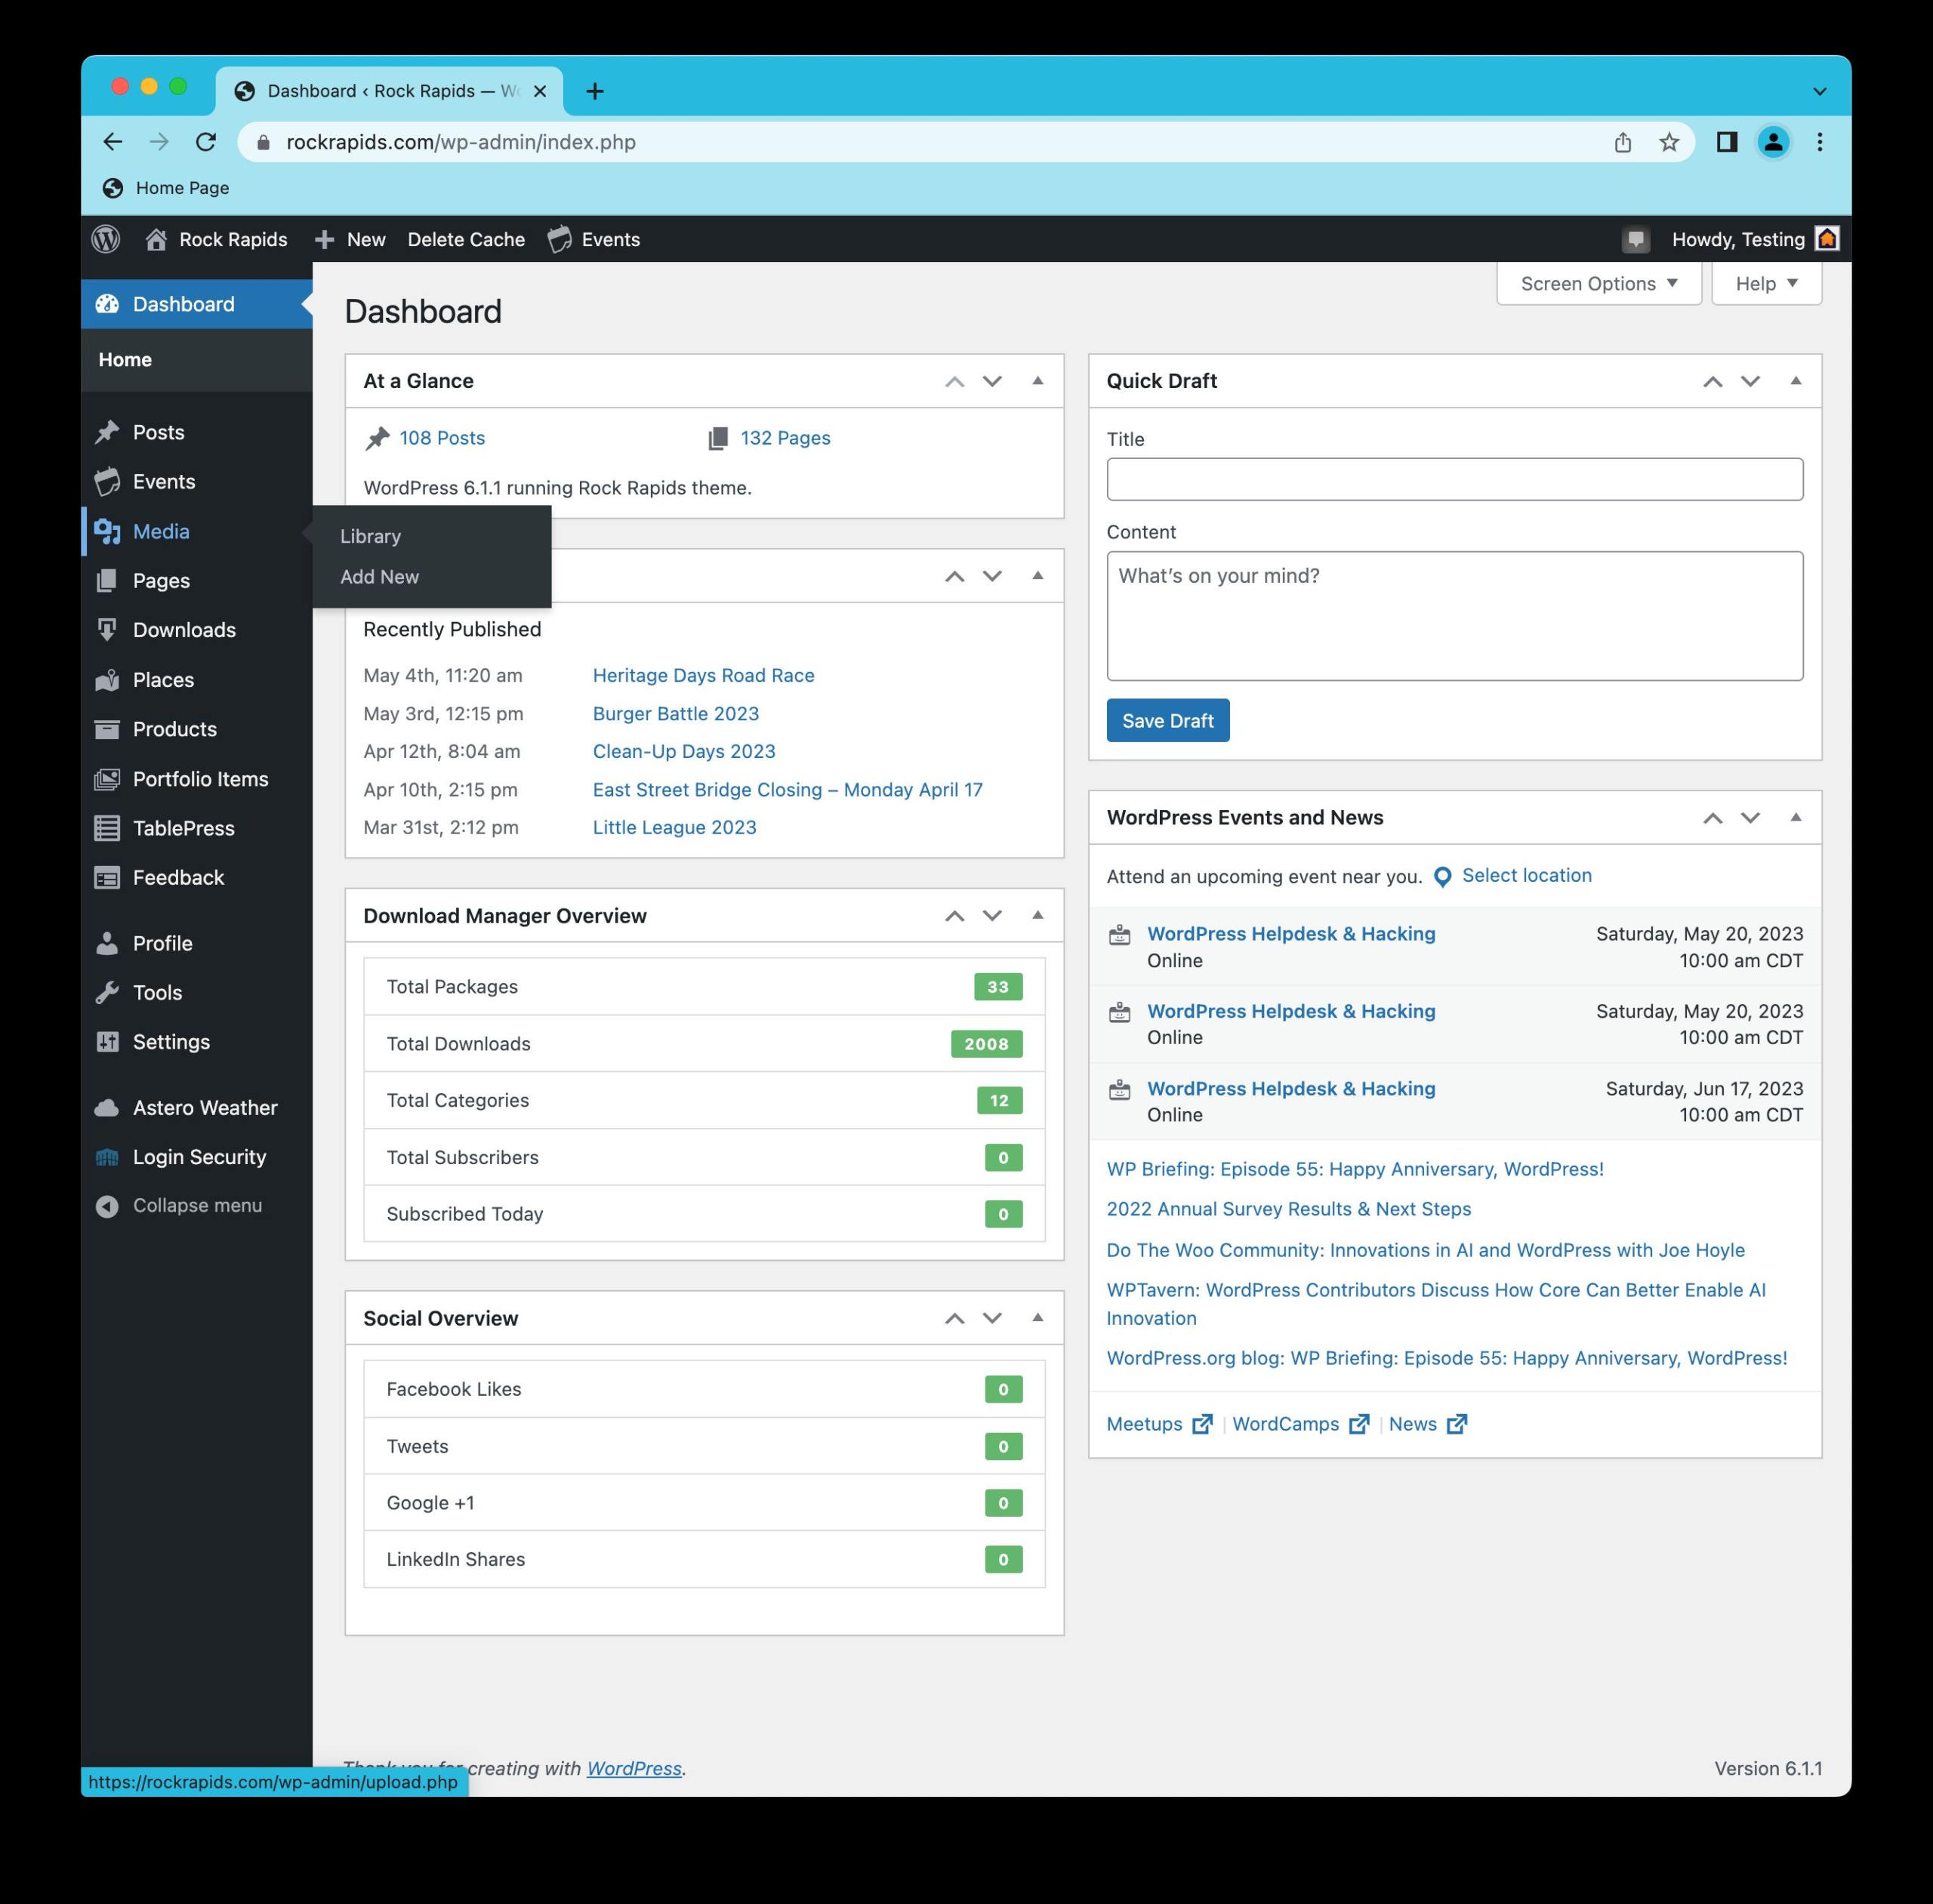
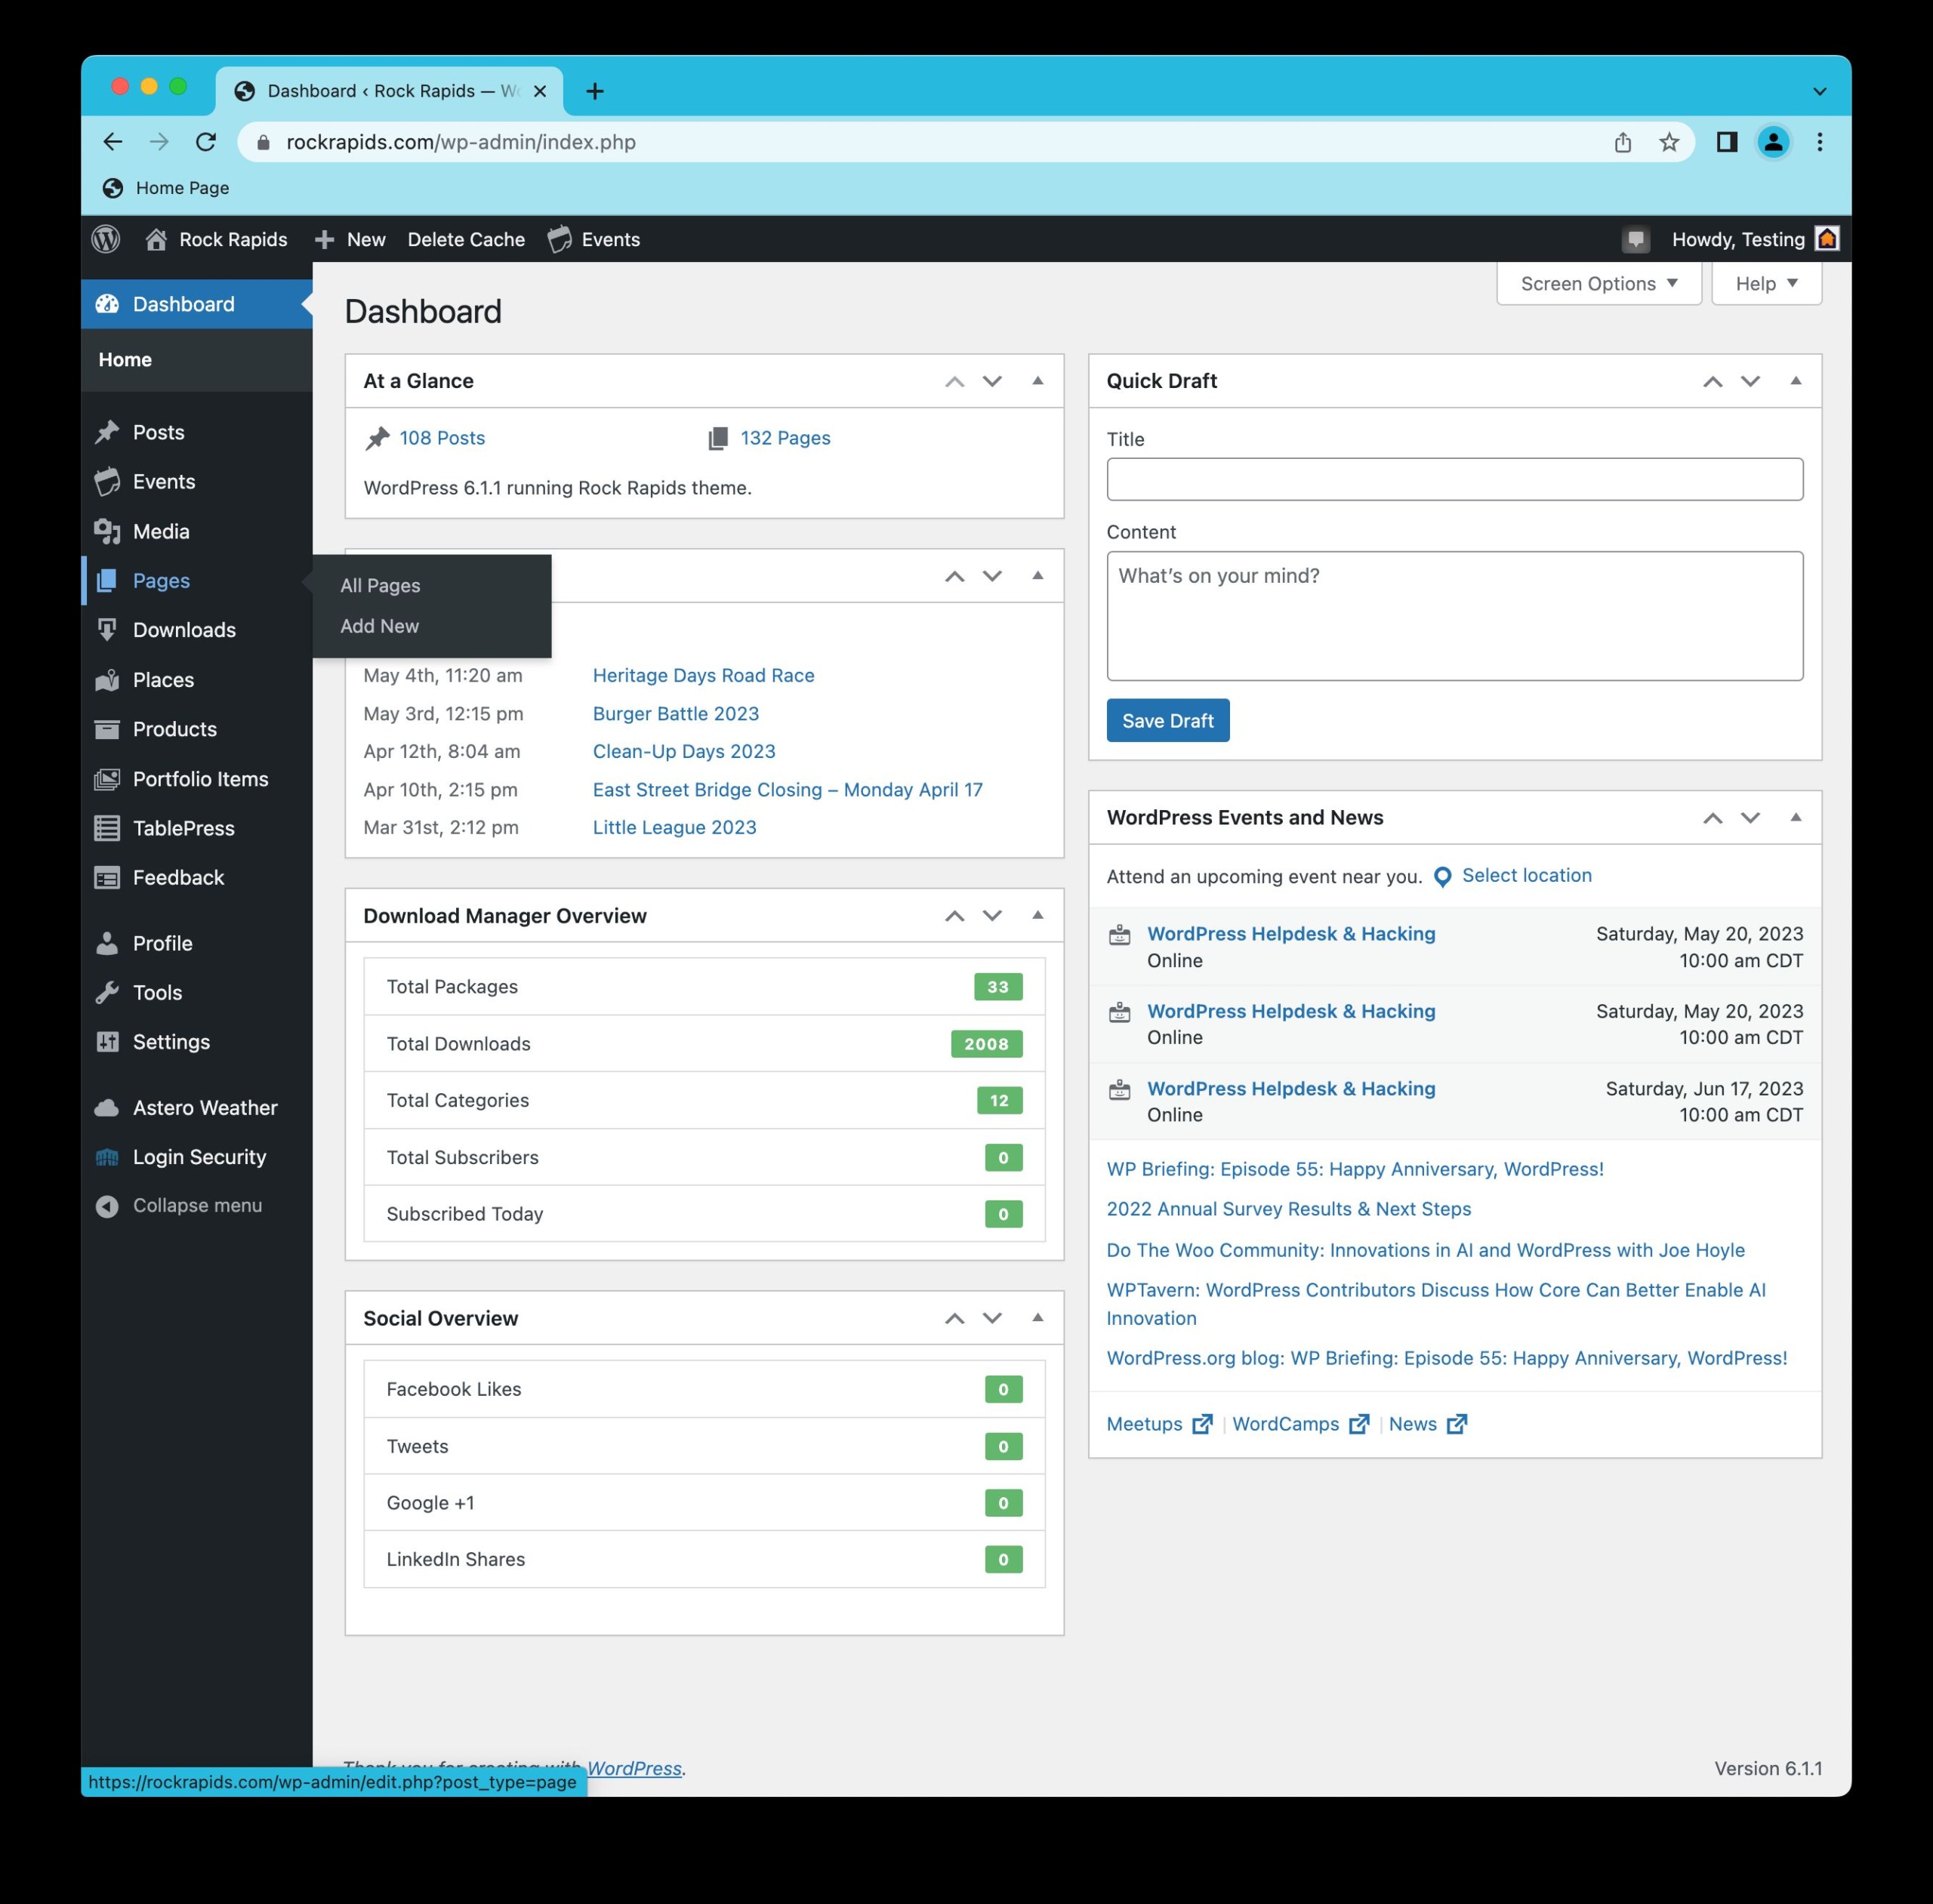
The Main Menu
Start Here
This menu contains most of the main access points to view, manage or edit that type of content within.
Posts are Timely Content, and in most cases, should expire, so that other items can take their place.
Events are also timely content, but centered more around specific events, and will automatically disappear as their date passes.
Media is where most Media content is stored within the website.
Pages are designed for Permanent content.
Places are locations, and also generally permanent content.
Inside the Menus
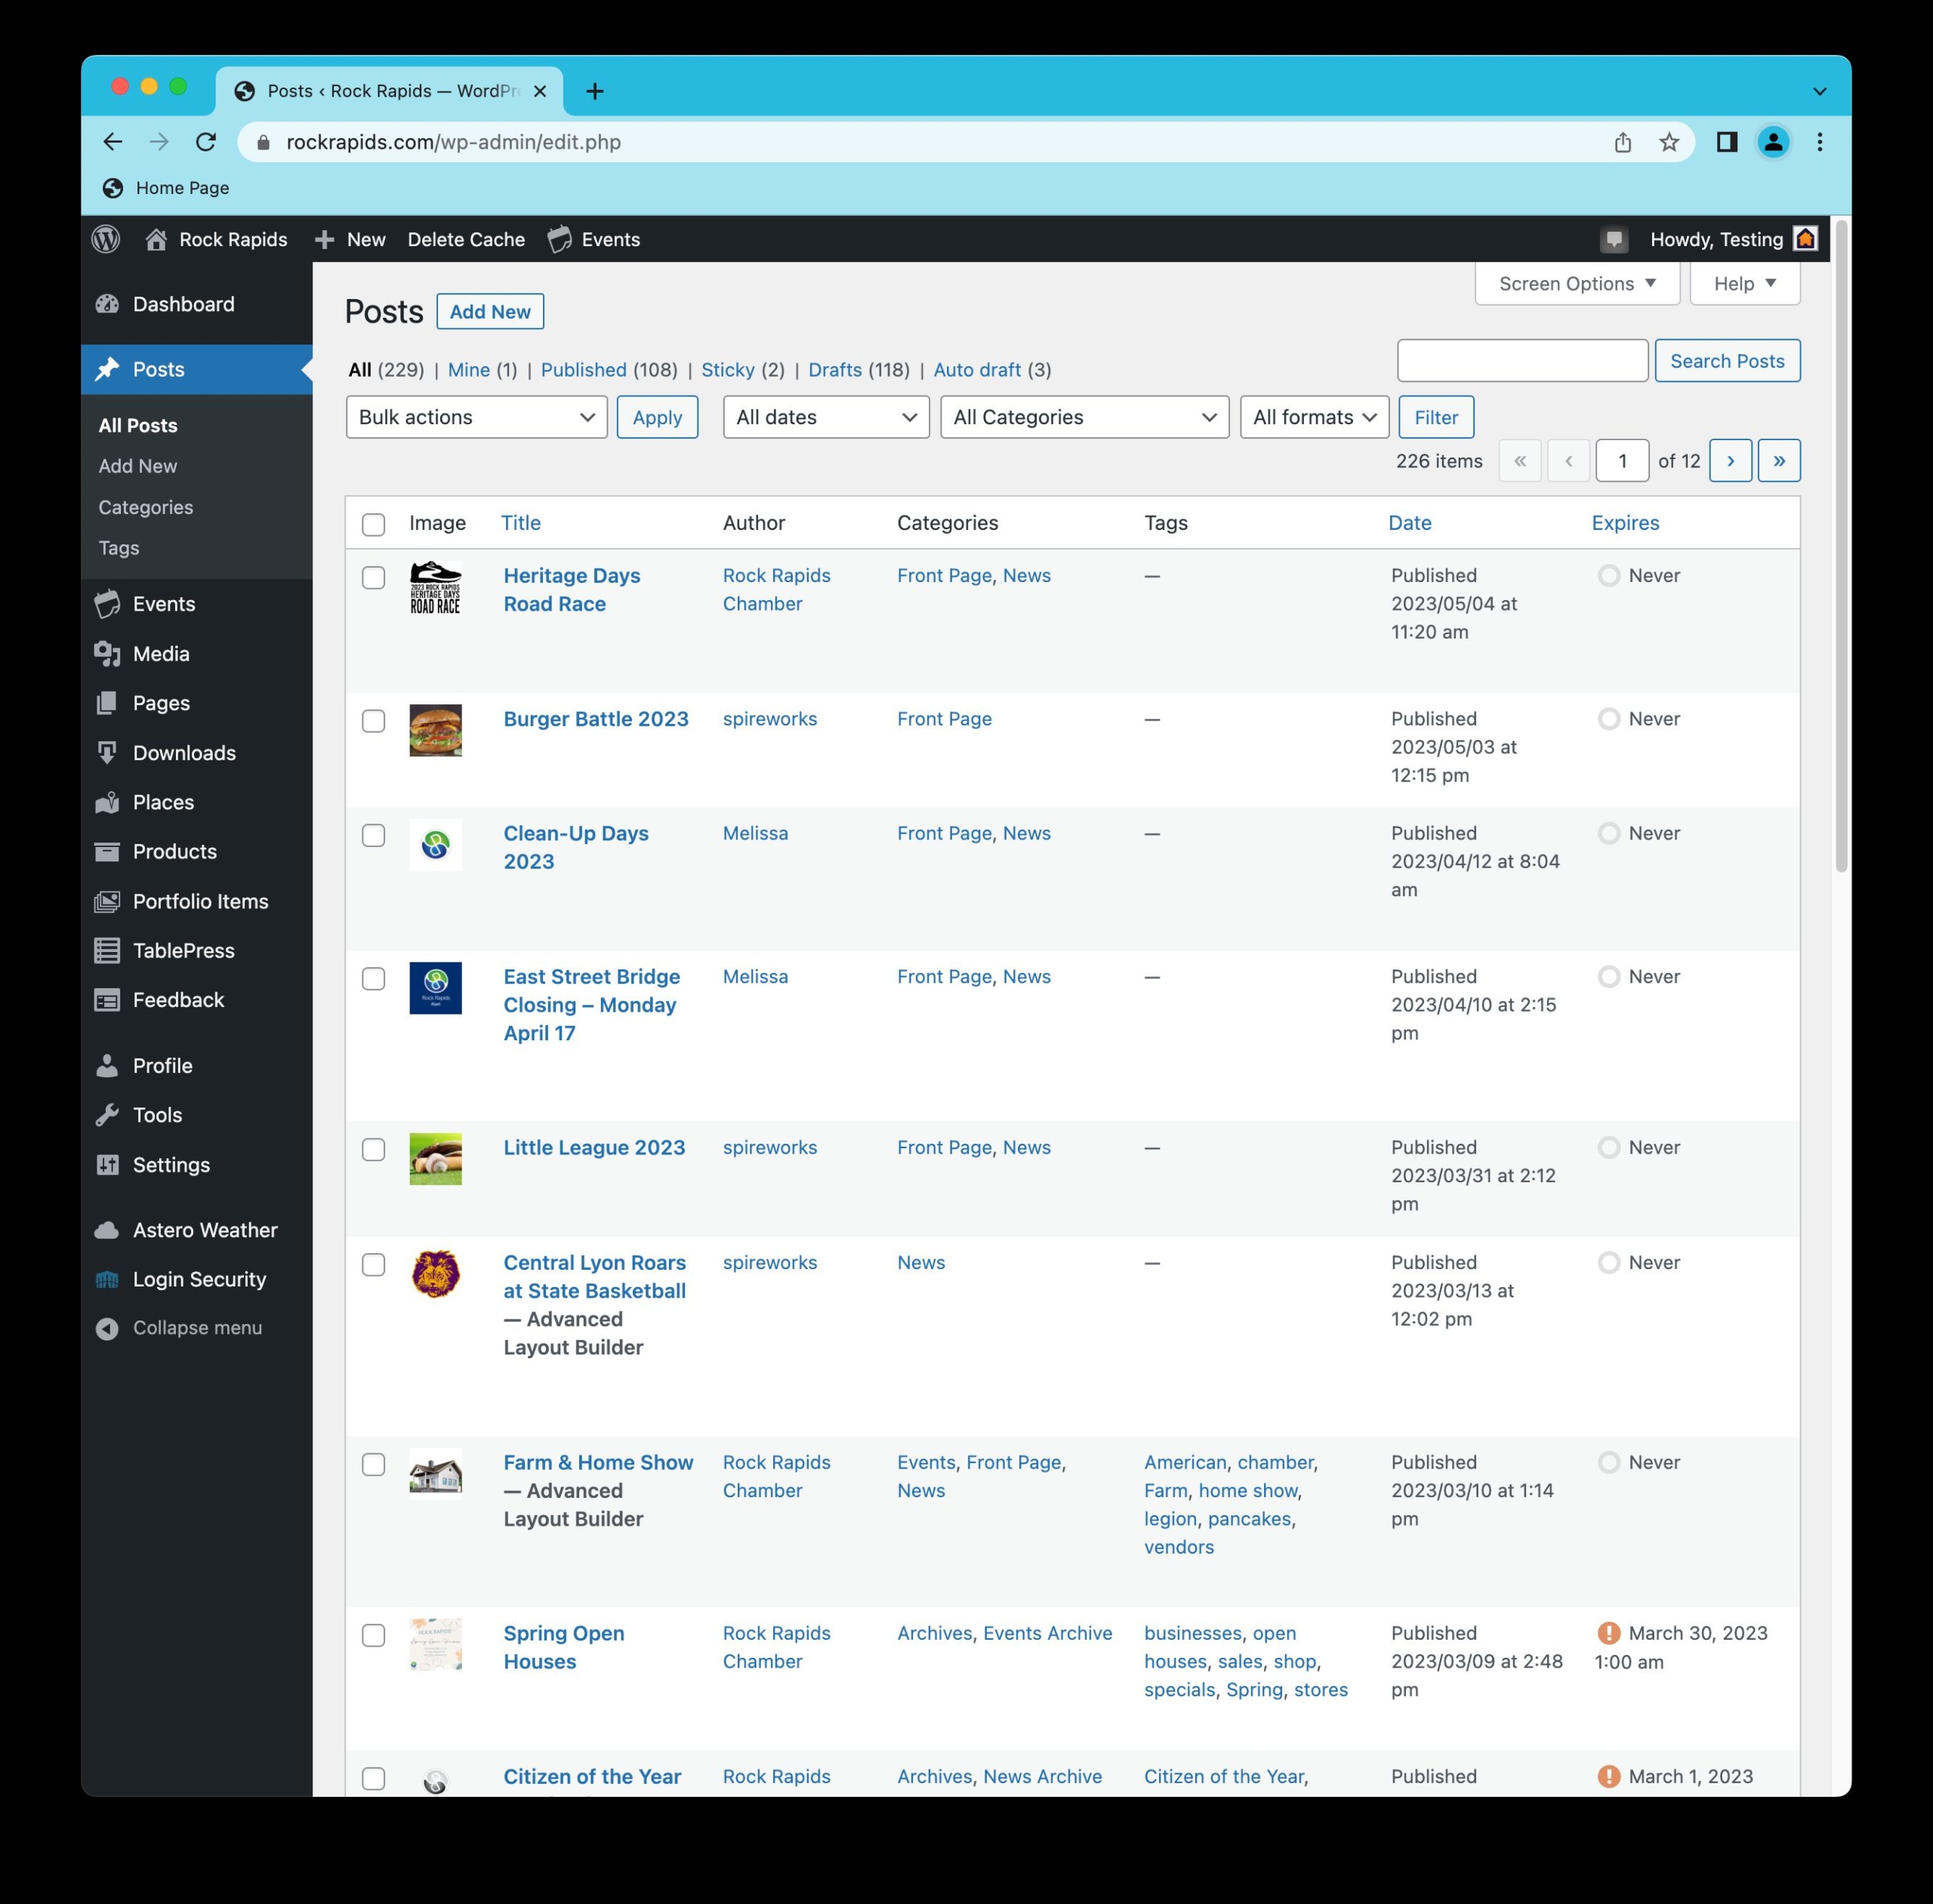
Posts
View, Manage and Edit Posts
Posts are Timely Content, and in most cases, should expire, so that other items can take their place.
In this view, you can see the posts, in list form, starting from the most recent, going back to the oldest post. To see the content from that particular post, either click on the name of the post, or on the Edit button that appears when you hover over the post’s row.
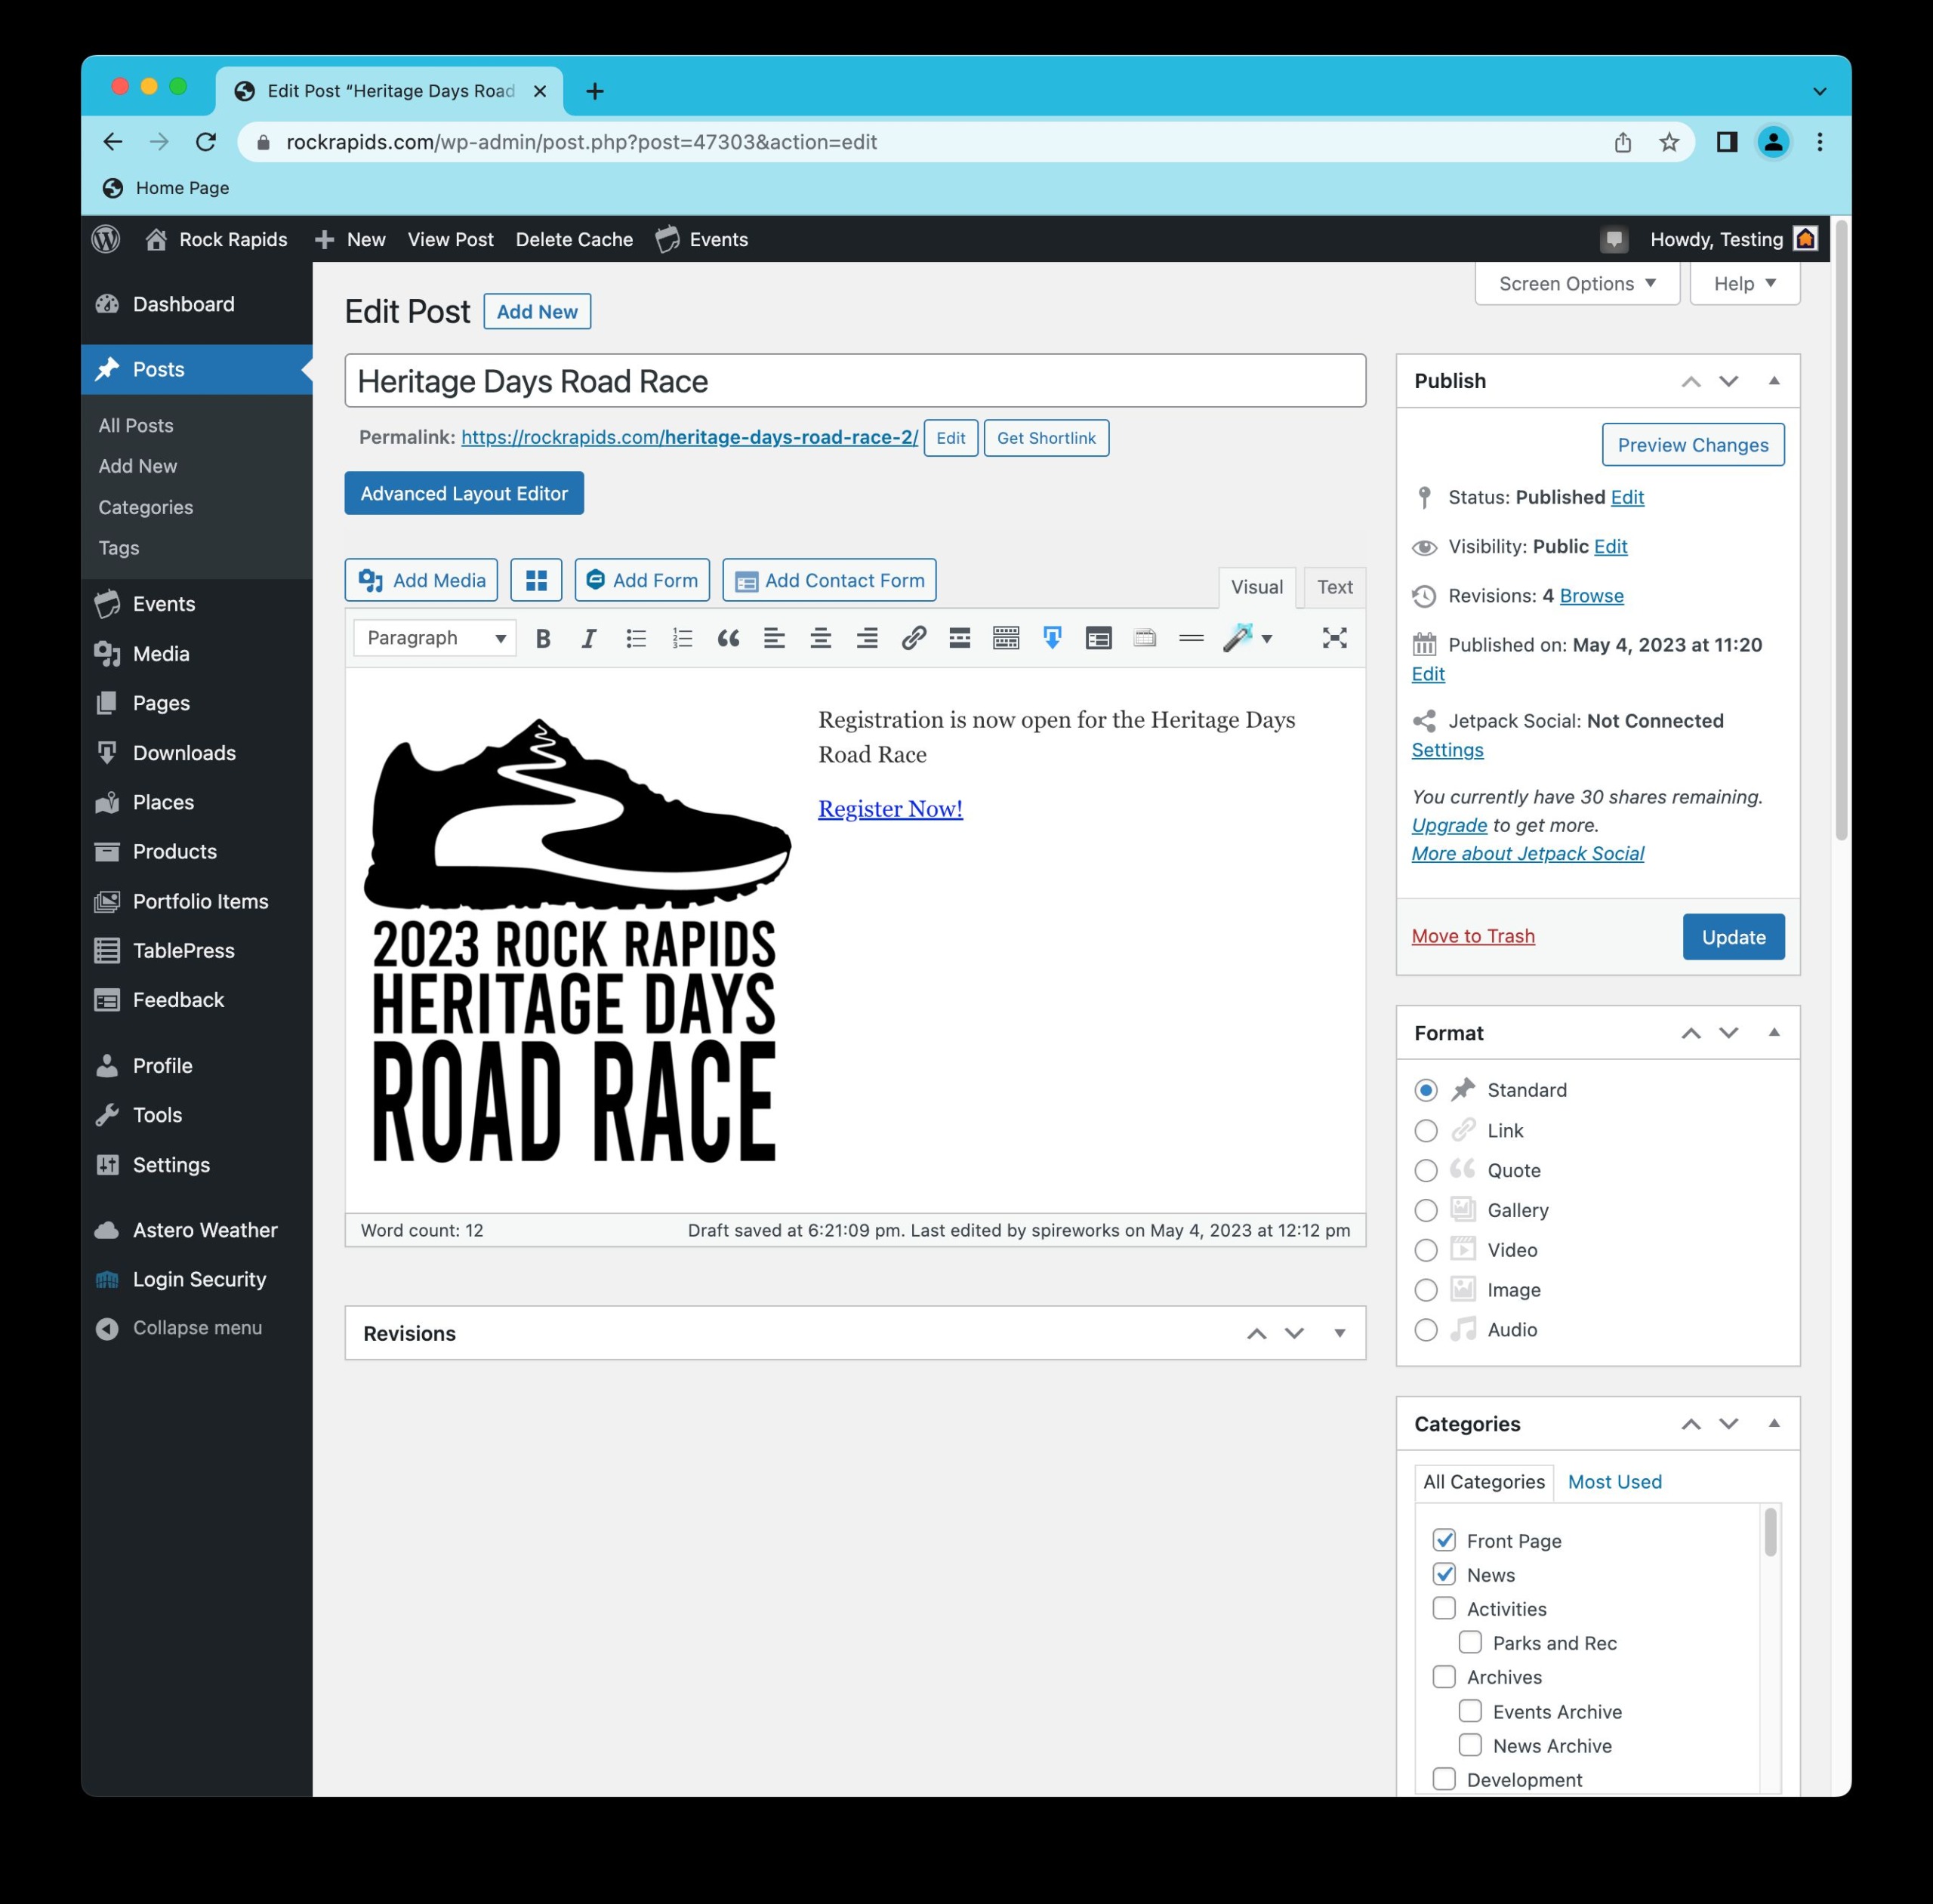
The Main Post Content
Post Title
Publish Controls
Post Format
Post Categorization
1. The Main Post Content
The bulk of the content that is visible to website viewers is contained in this window. The other boxes that surround this window are more for controlling how, when, where and why a post disables on the website.
2. Post Title
The post title is one of the most important pieces of information within any type of post. It is how that piece of content is displayed on the visible website. It can be used for searching, filtering, sorting and other important aspects of the post’s display. Good post titles need to be relatively short, compelling, and avoid duplication.
3. Publish Controls
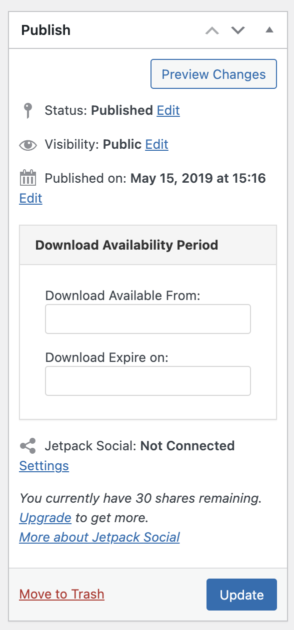
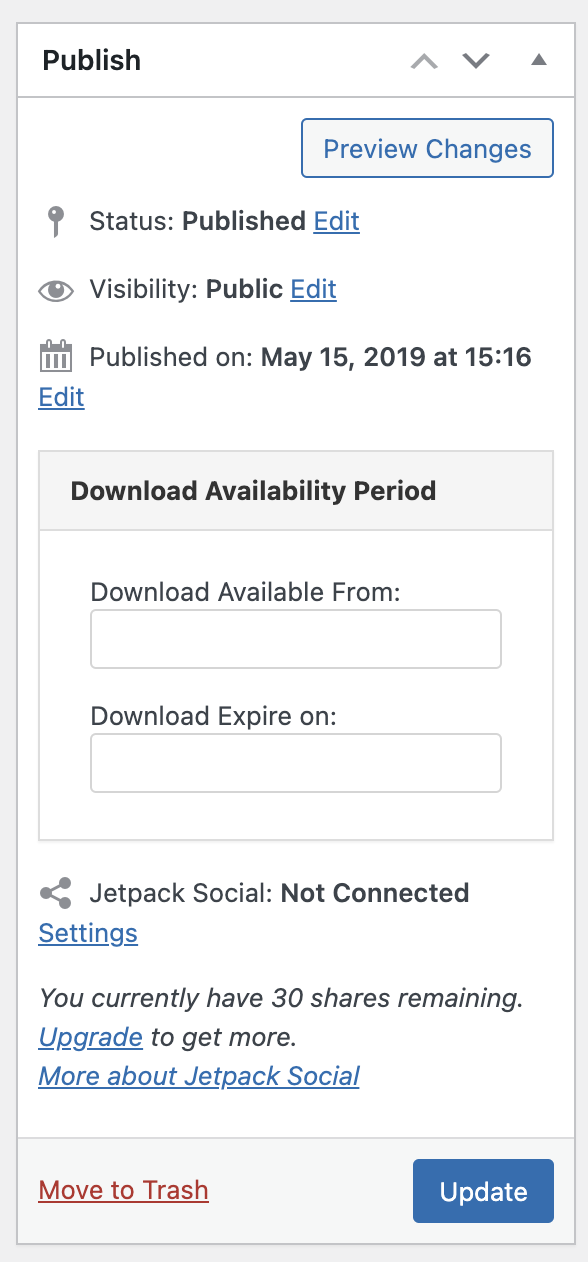
This box contains the overall controls that govern if a post is seen. It can also control who get’s to see it, and if it is scheduled for publishing, rather than publishing immediately.
Any changes made to a post, whether they be changes in this box or elsewhere in the post, must be saved by either Publishing, Updating, or Saving as a Draft. Otherwise, any changes will be lost.
4. Post Format
The format of a post is equally as important as the type of post. This should almost always be set to Standard, unless directed otherwise.
5. Post Categorization
Because a website is full of similar content, categorization is used to control when and where content is displayed in various places within the website.
Posts that need to be see on the front page need to have the Front Page primary category selected and the New, Events, etc. subcategories selected.
Top – These posts go at the very top of the page and supersede all other posts. Please note that there is only one row for these types of posts, and additional ones will be cut off and not visible.
Ongoing – These posts are Prioritized, but fall below Top posts and Normal posts.
Pages
View, Manage and Edit Pages
Pages are designed for Permanent content.
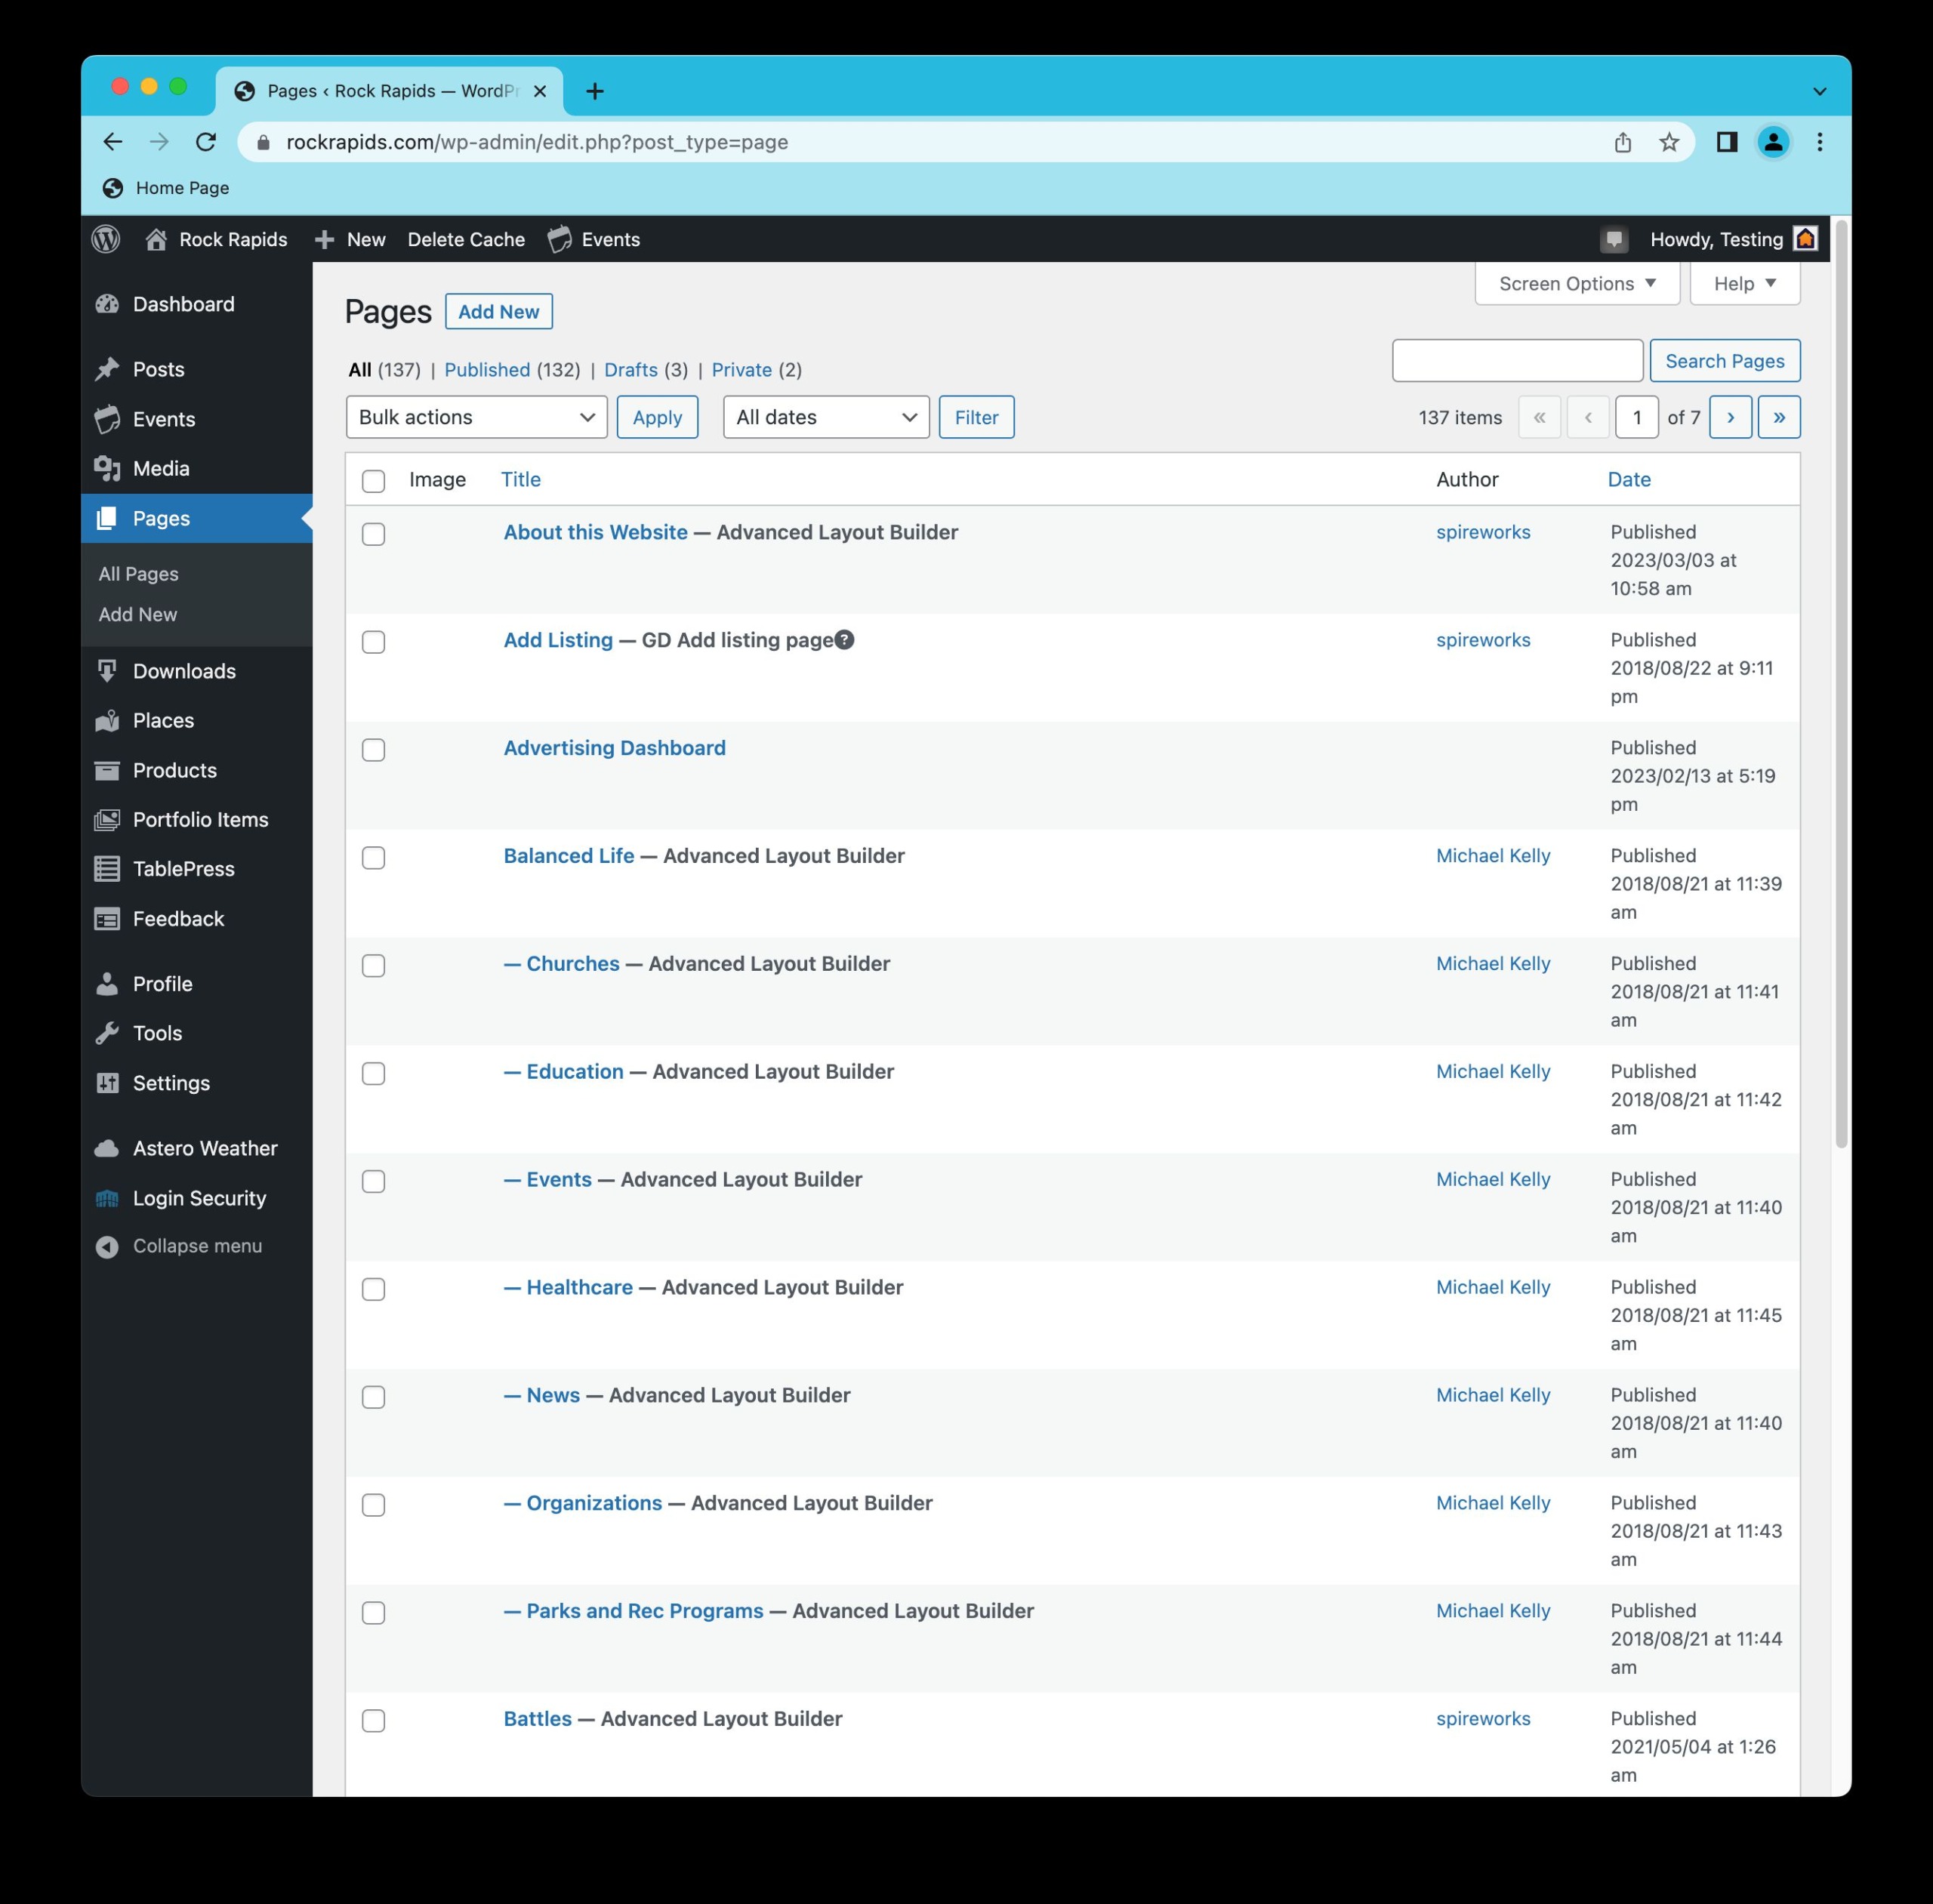
In this view, you can see the pages, in list form, listing in alphabetical order. You can change that by clicking on one of the tops of the columns. Additionally, you can search for a specific page by typing your search terms into the Search box at the top-right.
To see the content from that particular page, either click on the name of the page, or on the Edit button that appears when you hover over the page’s row.
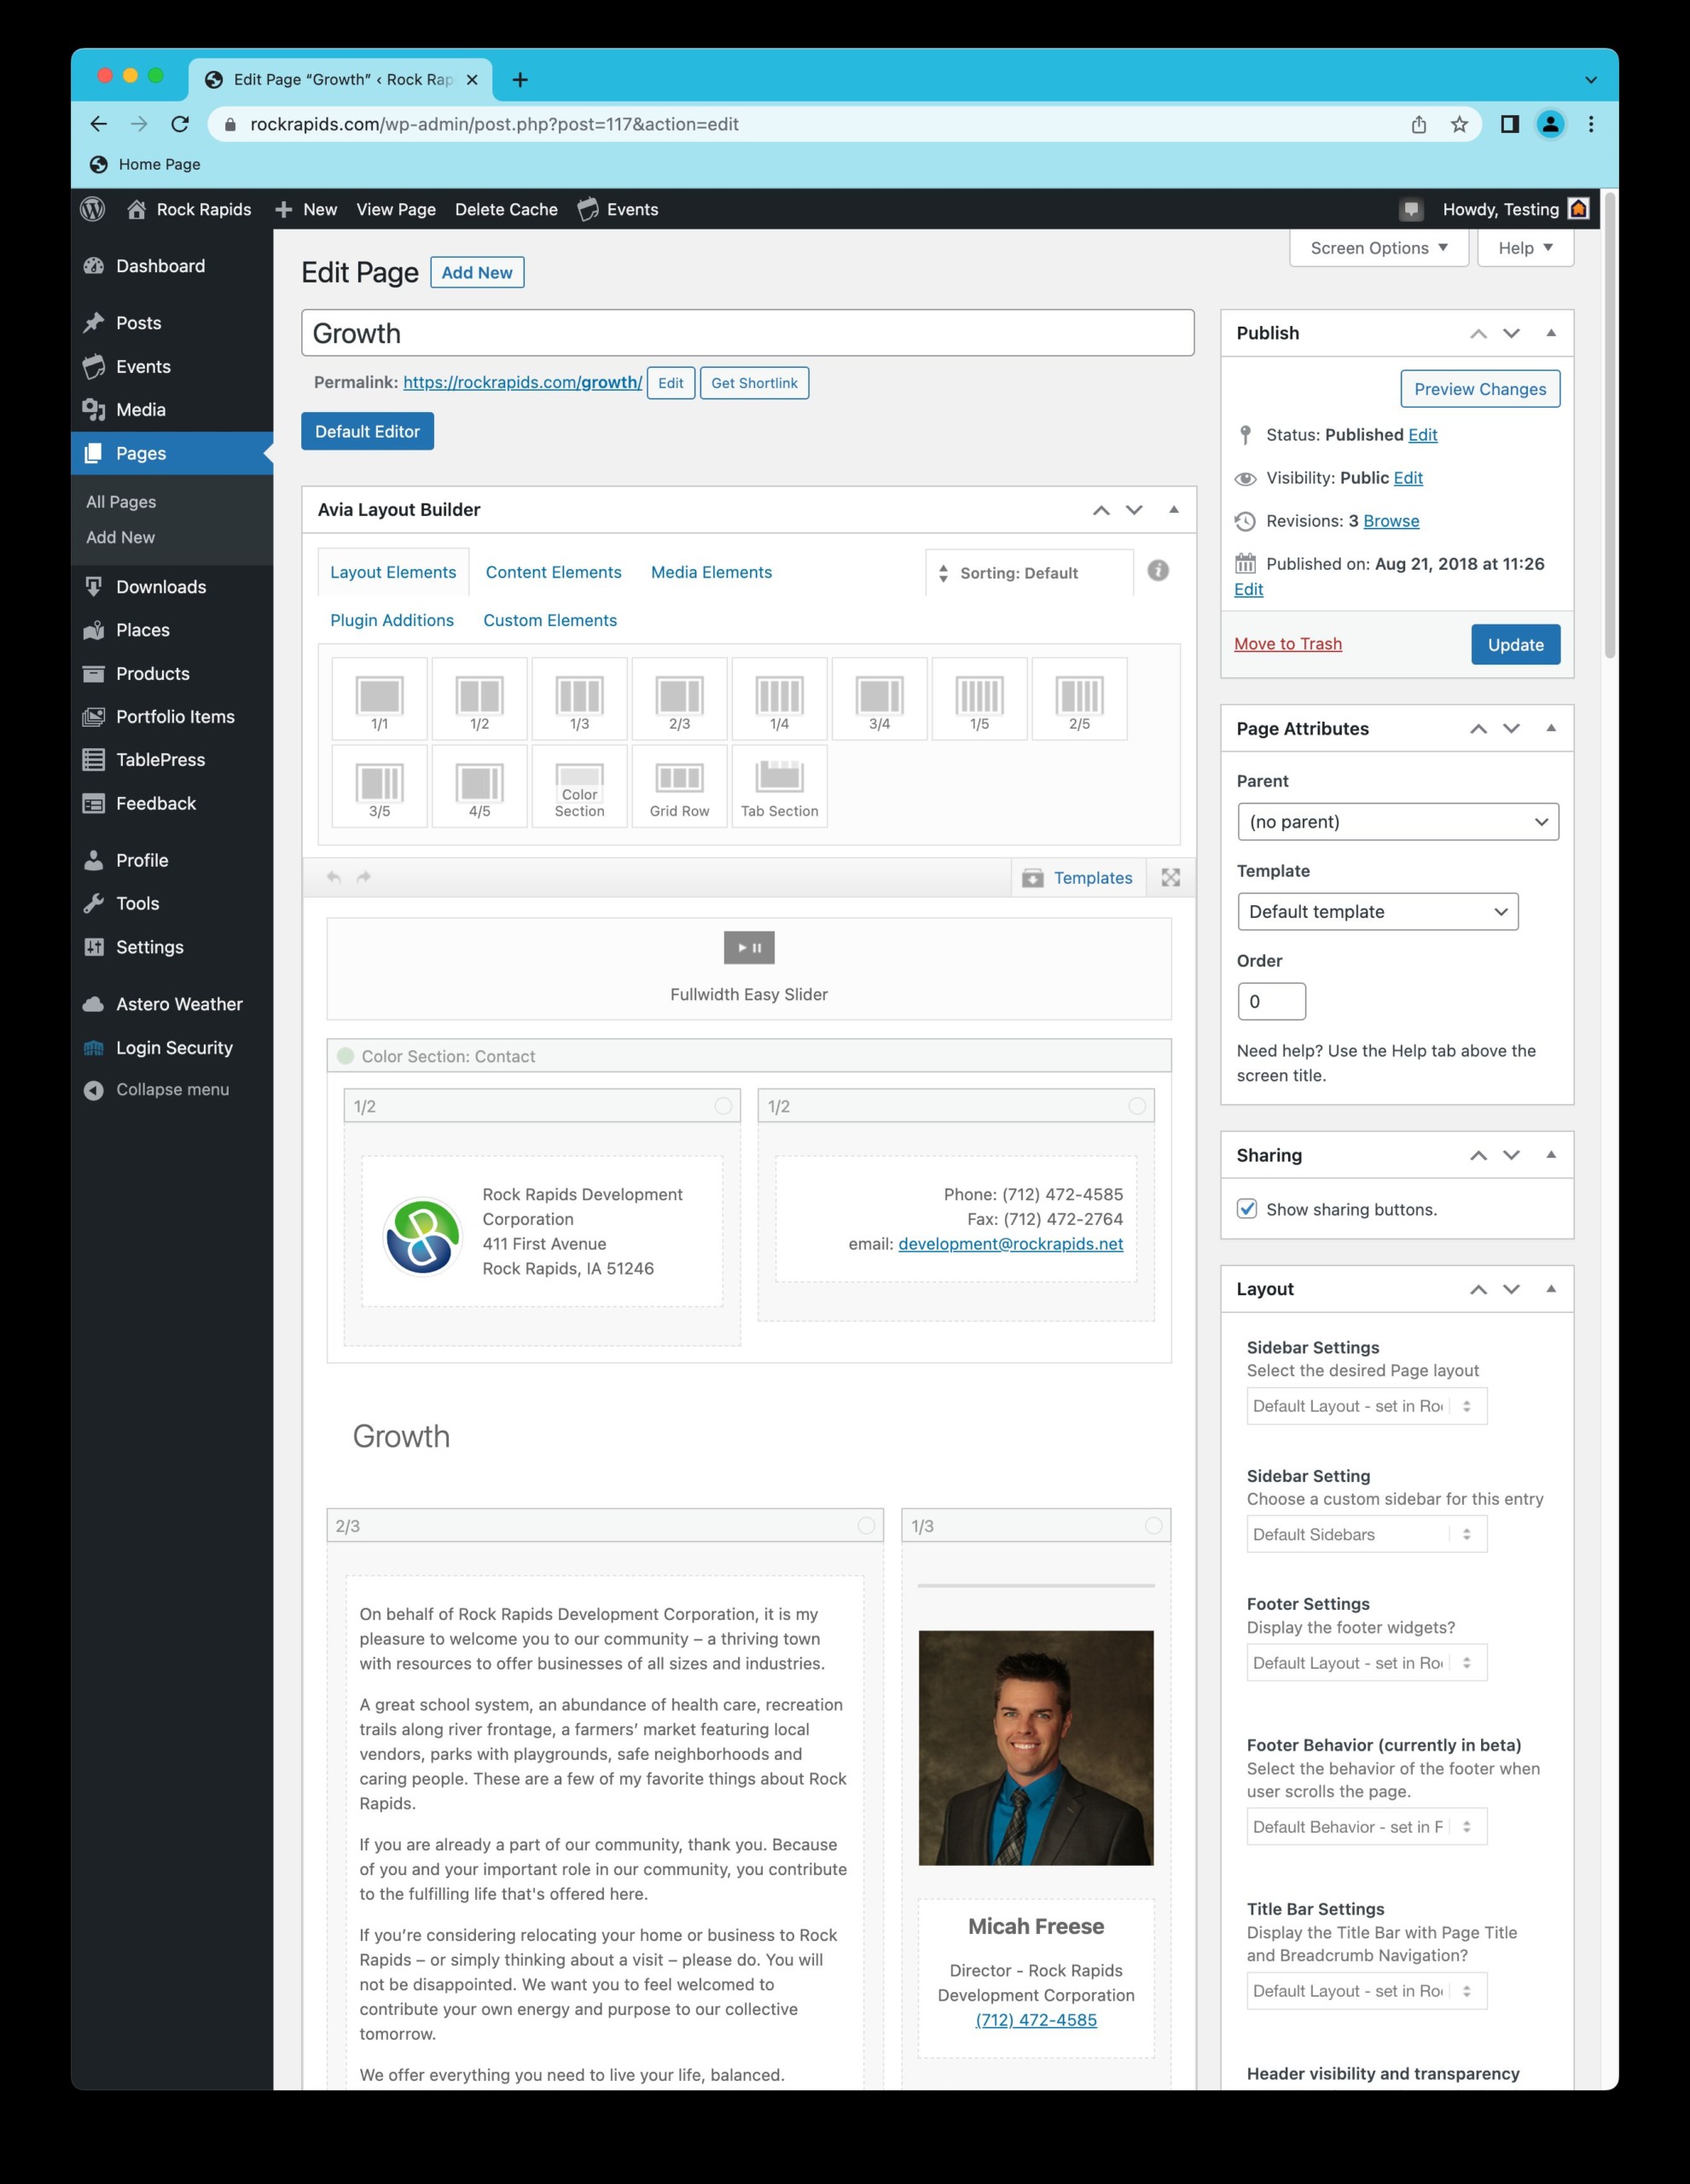
The Main Page Content
Page Title
Publish Controls
Page Hierarchy
Page Layout Controls
Edit: Headline
Edit: Bodycopy (Main Content)
Edit: Imagery
1. The Main Page Content
The bulk of the content that is visible to website viewers is contained in this window. The other boxes that surround this window are more for controlling how, when, where and why a page displays on the website.
2. Page Title
The page title is one of the most important pieces of information within any type of post. It is how that piece of content is displayed on the visible website. It can be used for searching, filtering, sorting and other important aspects of the page’s display. Good page titles need to be relatively short, compelling, and avoid duplication.
3. Publish Controls
This box contains the overall controls that govern if a page is seen. It can also control who gets to see it, and if it is scheduled for publishing, rather than publishing immediately.
Any changes made to a page, whether they be changes in this box or elsewhere in the post, must be saved by either Publishing, Updating, or Saving as a Draft. Otherwise, any changes will be lost.
4. Page Hierarchy / Attributes
Where the page displays in the overall structure of the website is determined by the Parent field.
The page template should almost always be set to Default Template, unless directed otherwise.
5. Page Layout
This is where layout elements like sidebars, title bars and footer settings are maintained for this page. This is an area we would suggest also remain without changes, in order to maintain consistency throughout the website.
6. Headline Edit
To change the headline, simply click on the Headline (Growth in this case). It will open a dialog like the one below…
6. Bodycopy (Main Content) Edit
To change the main content area, simply click on the area that holds the text you wish to edit. It will open a dialog like the one below…
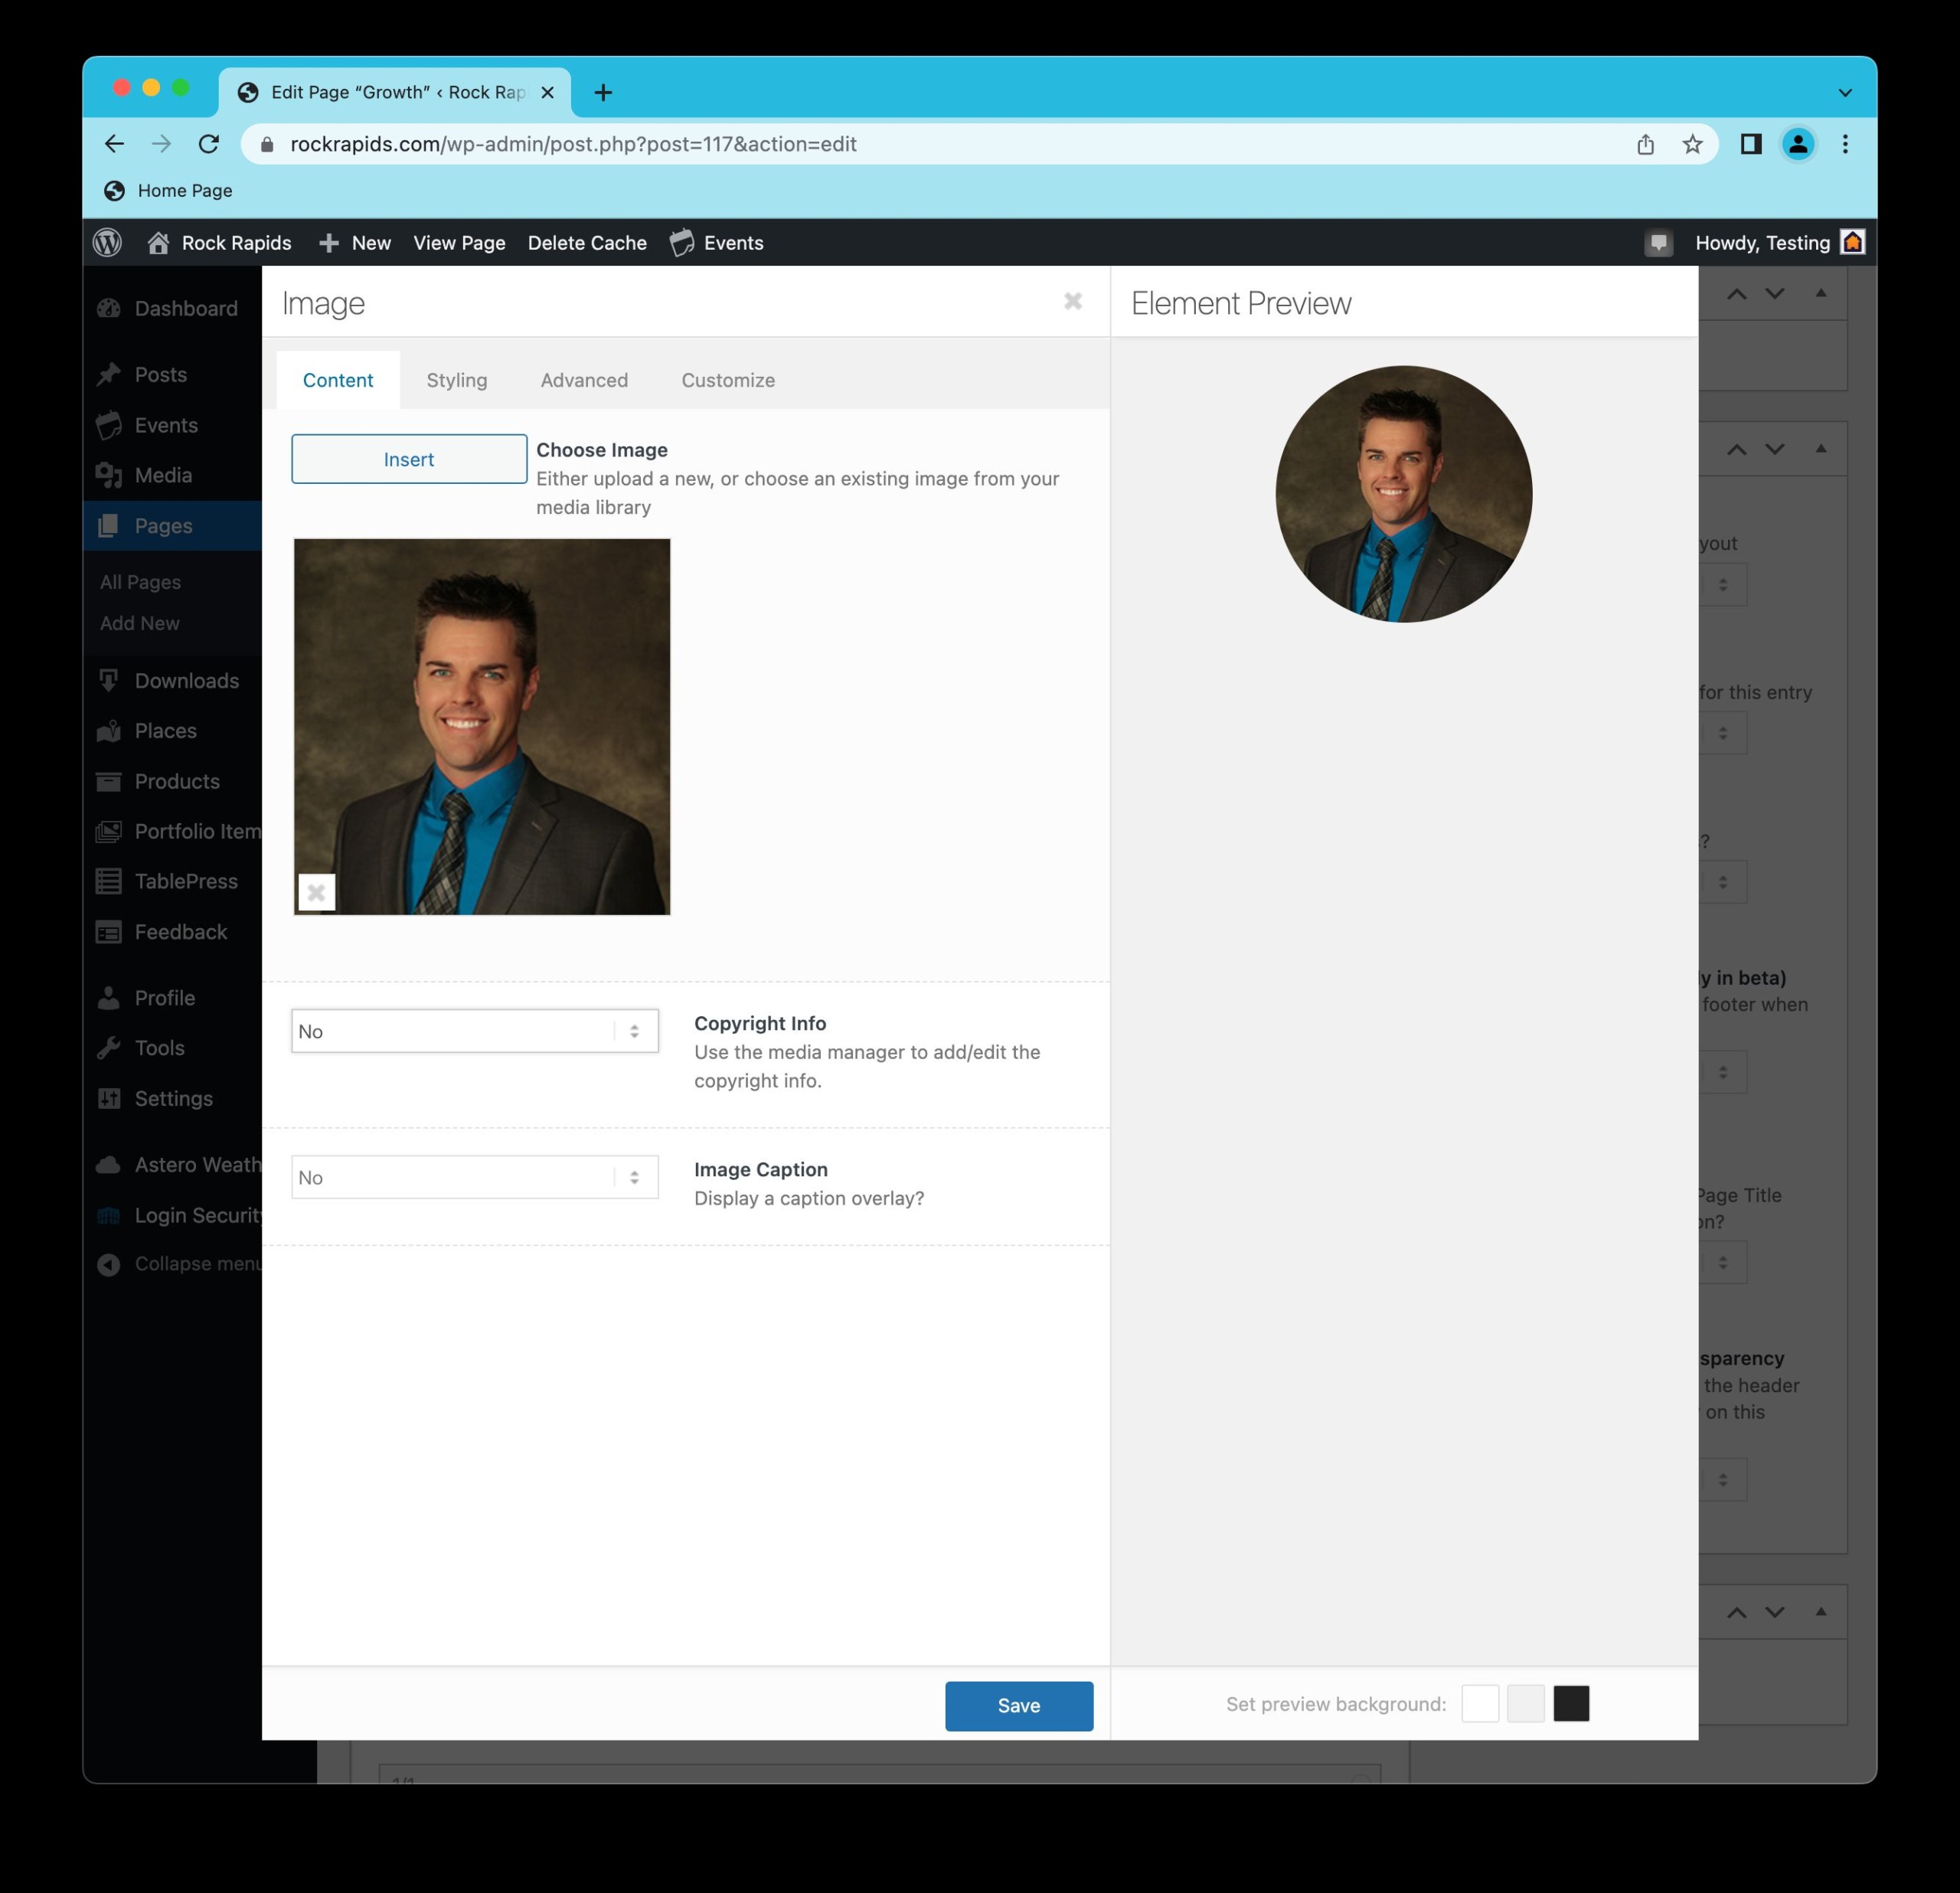
6. Imagery Edit
To change an image, simply click on the area that holds the image you wish to change. It will open a dialog like the one below…
